


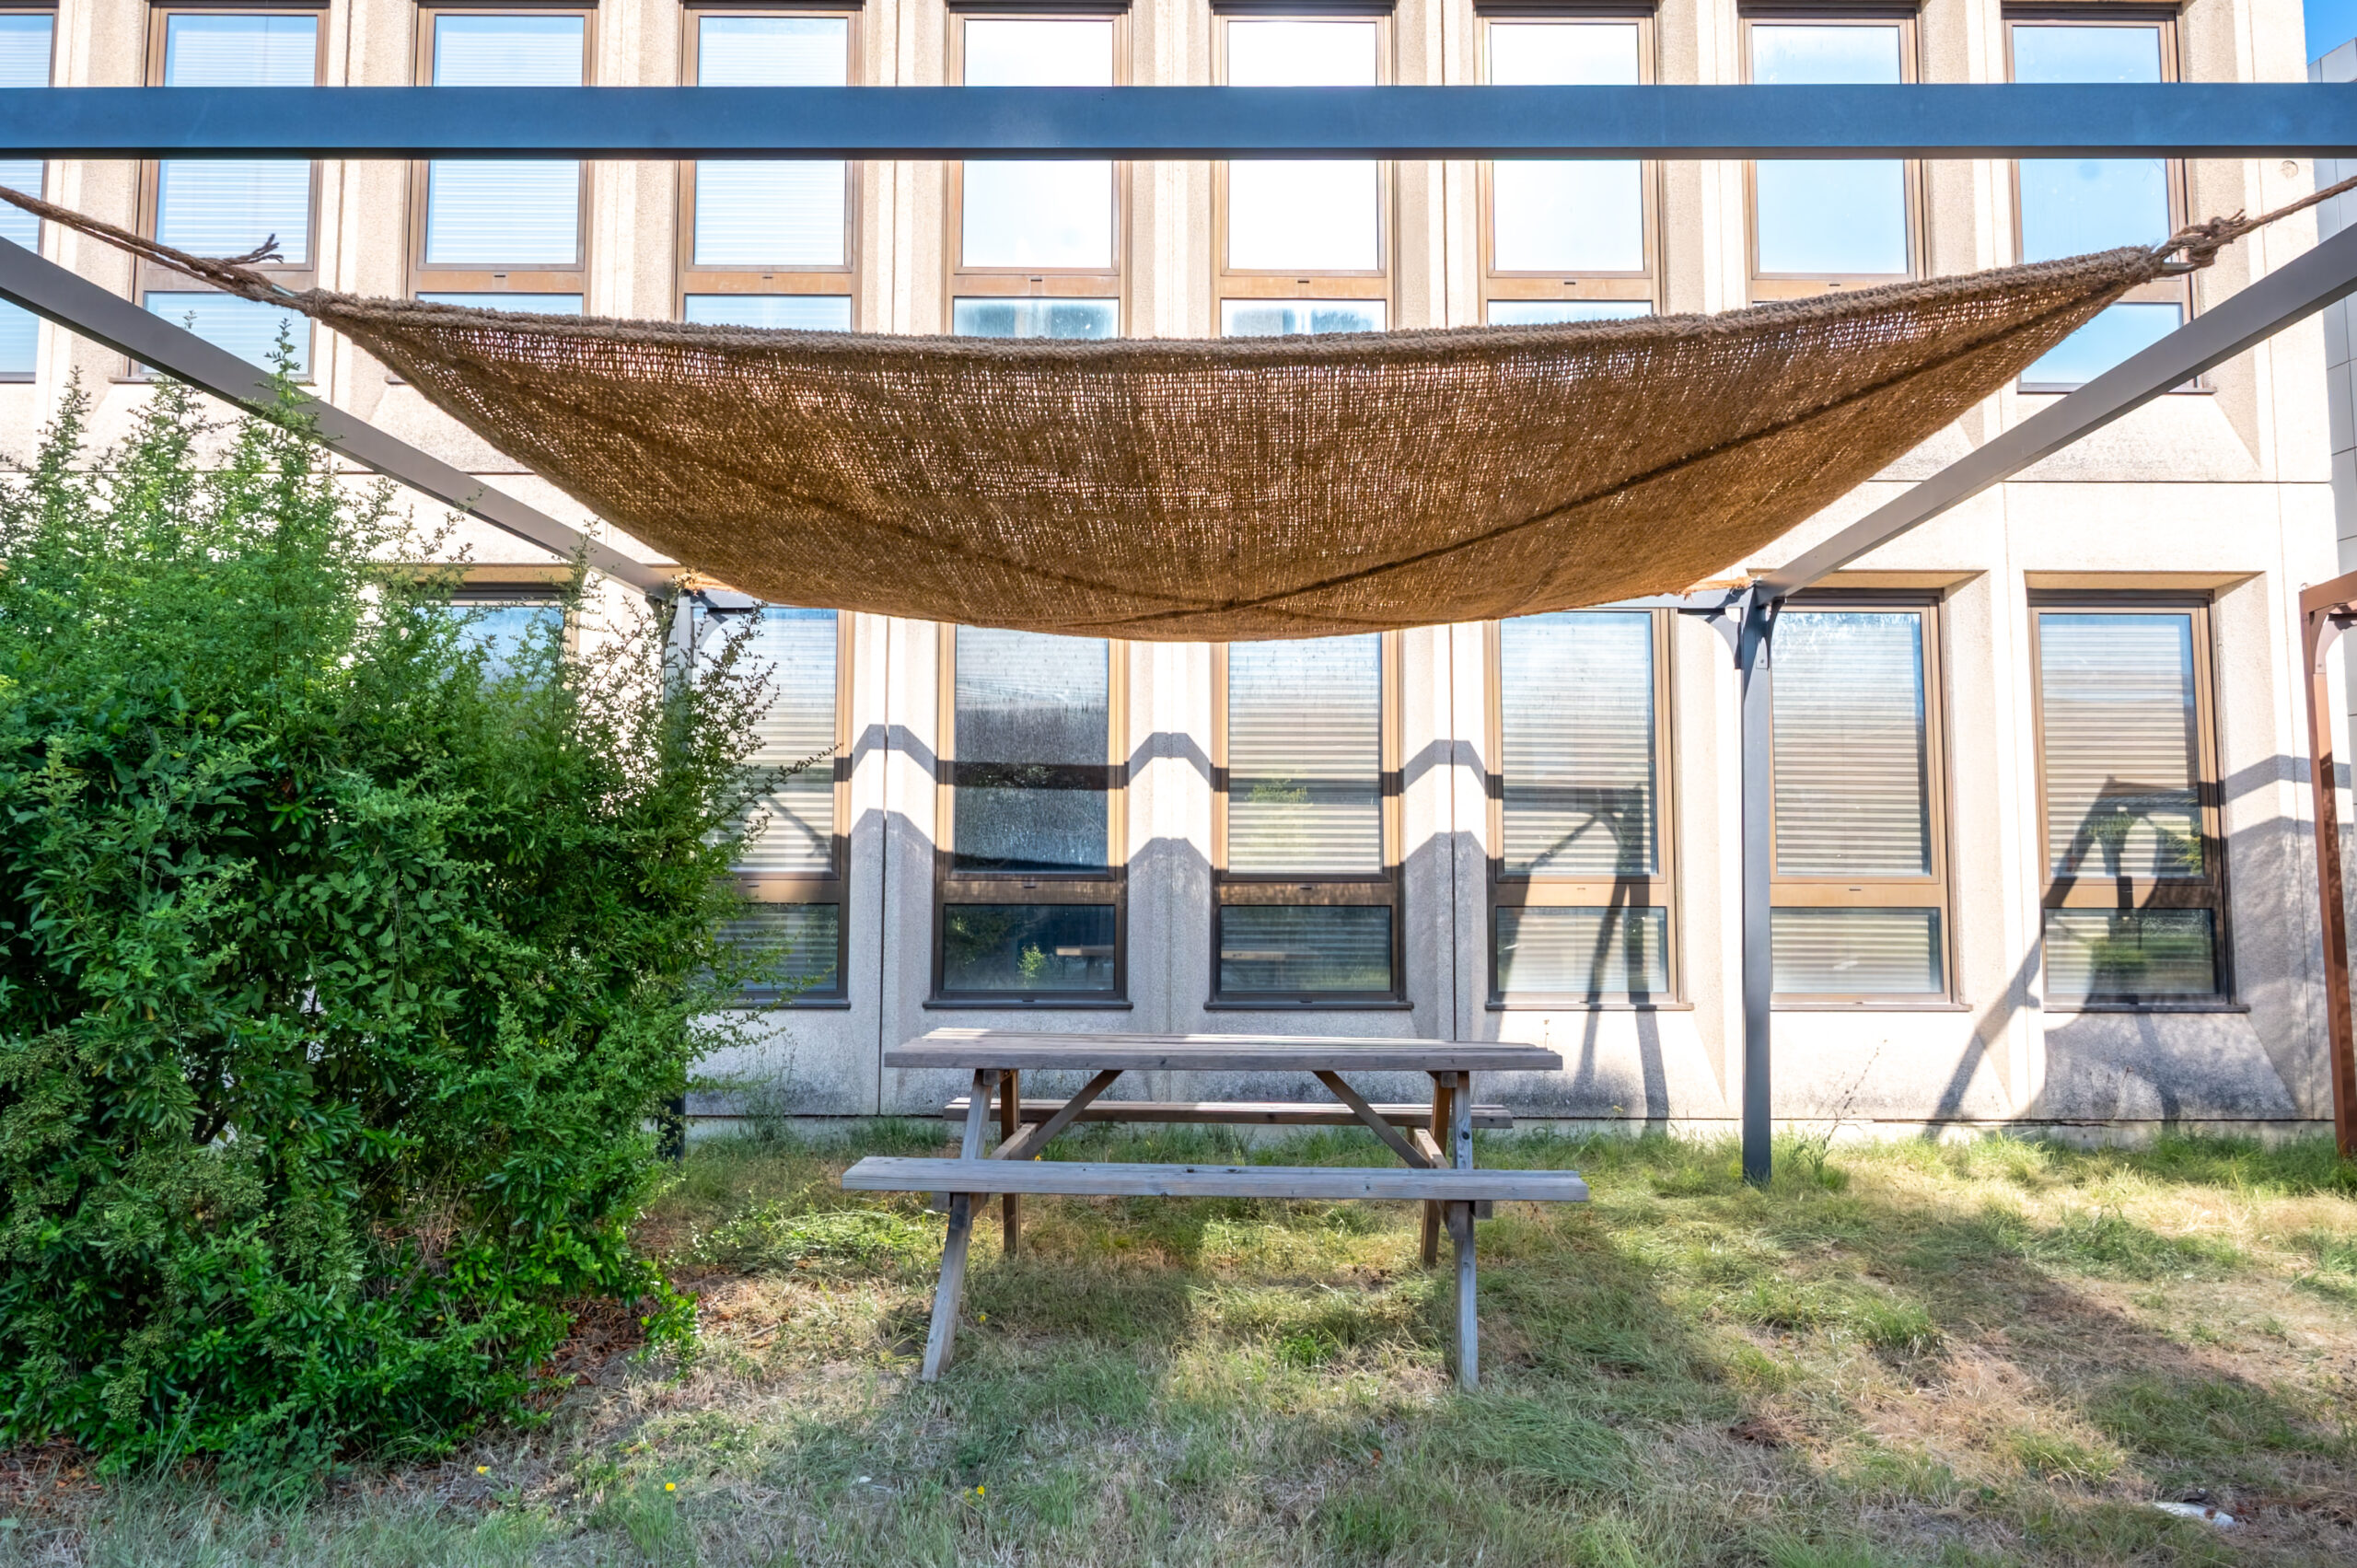
How to hang 4-point attachment coco shade sail ?
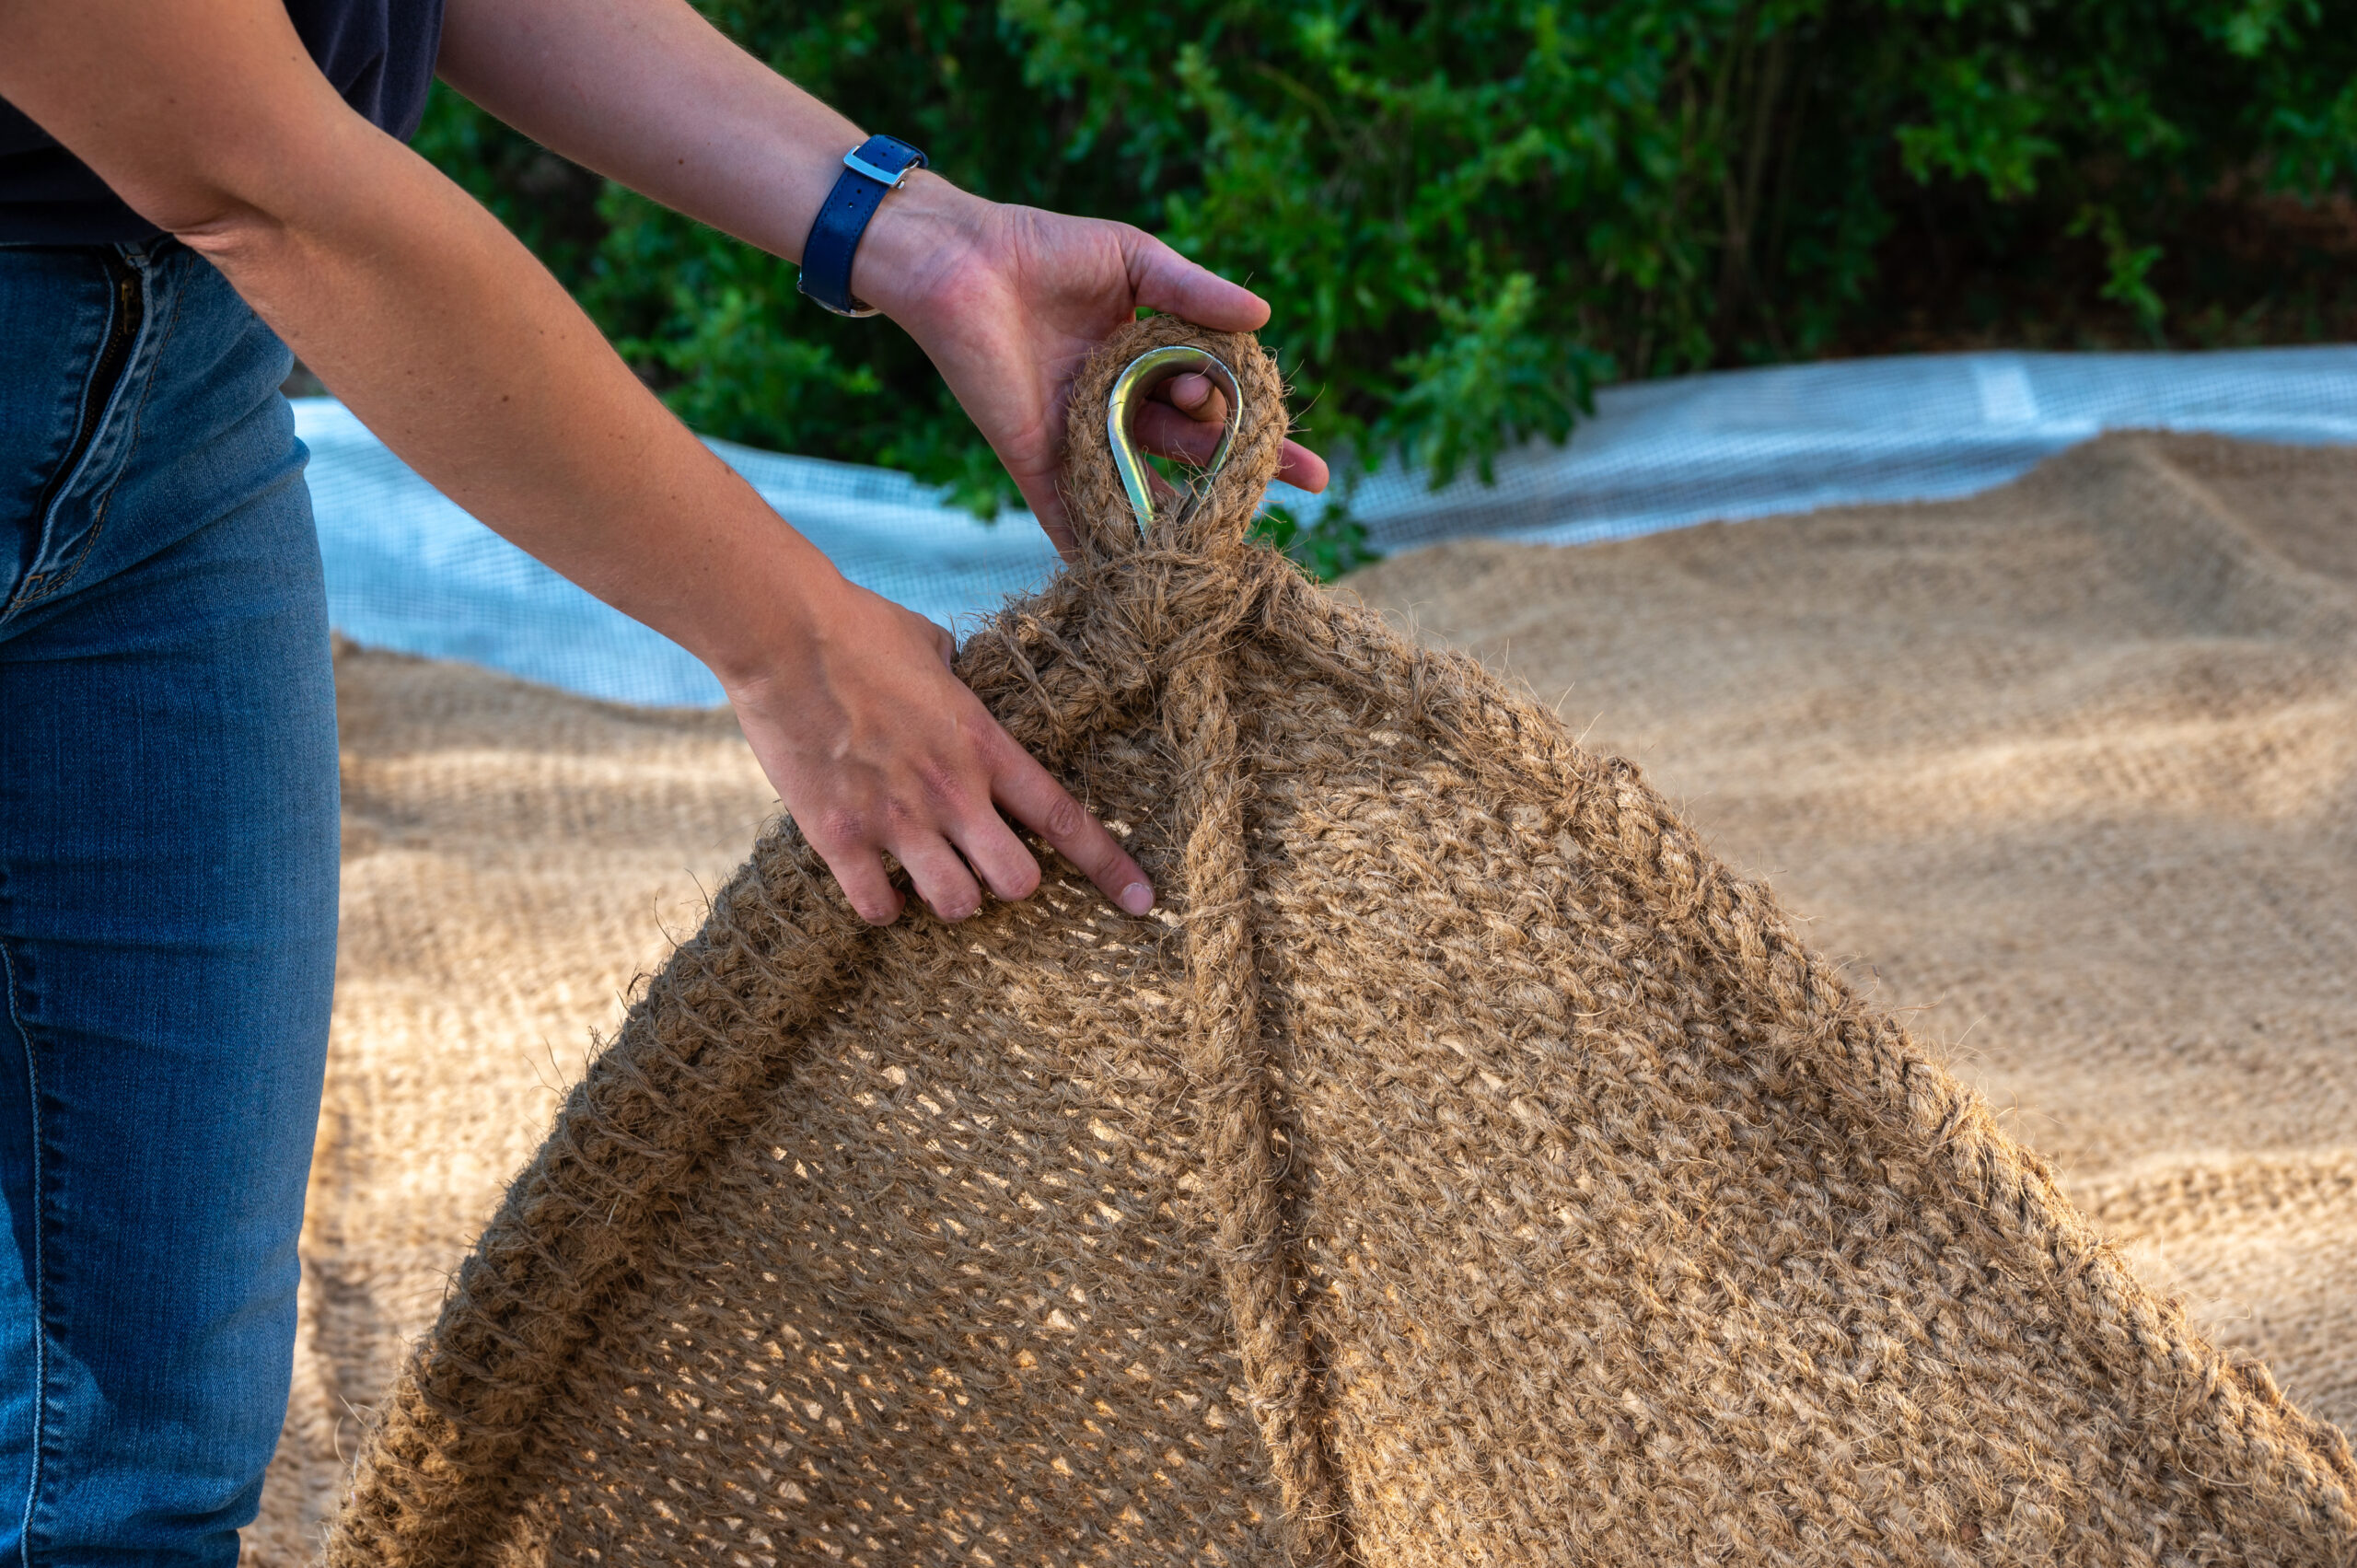
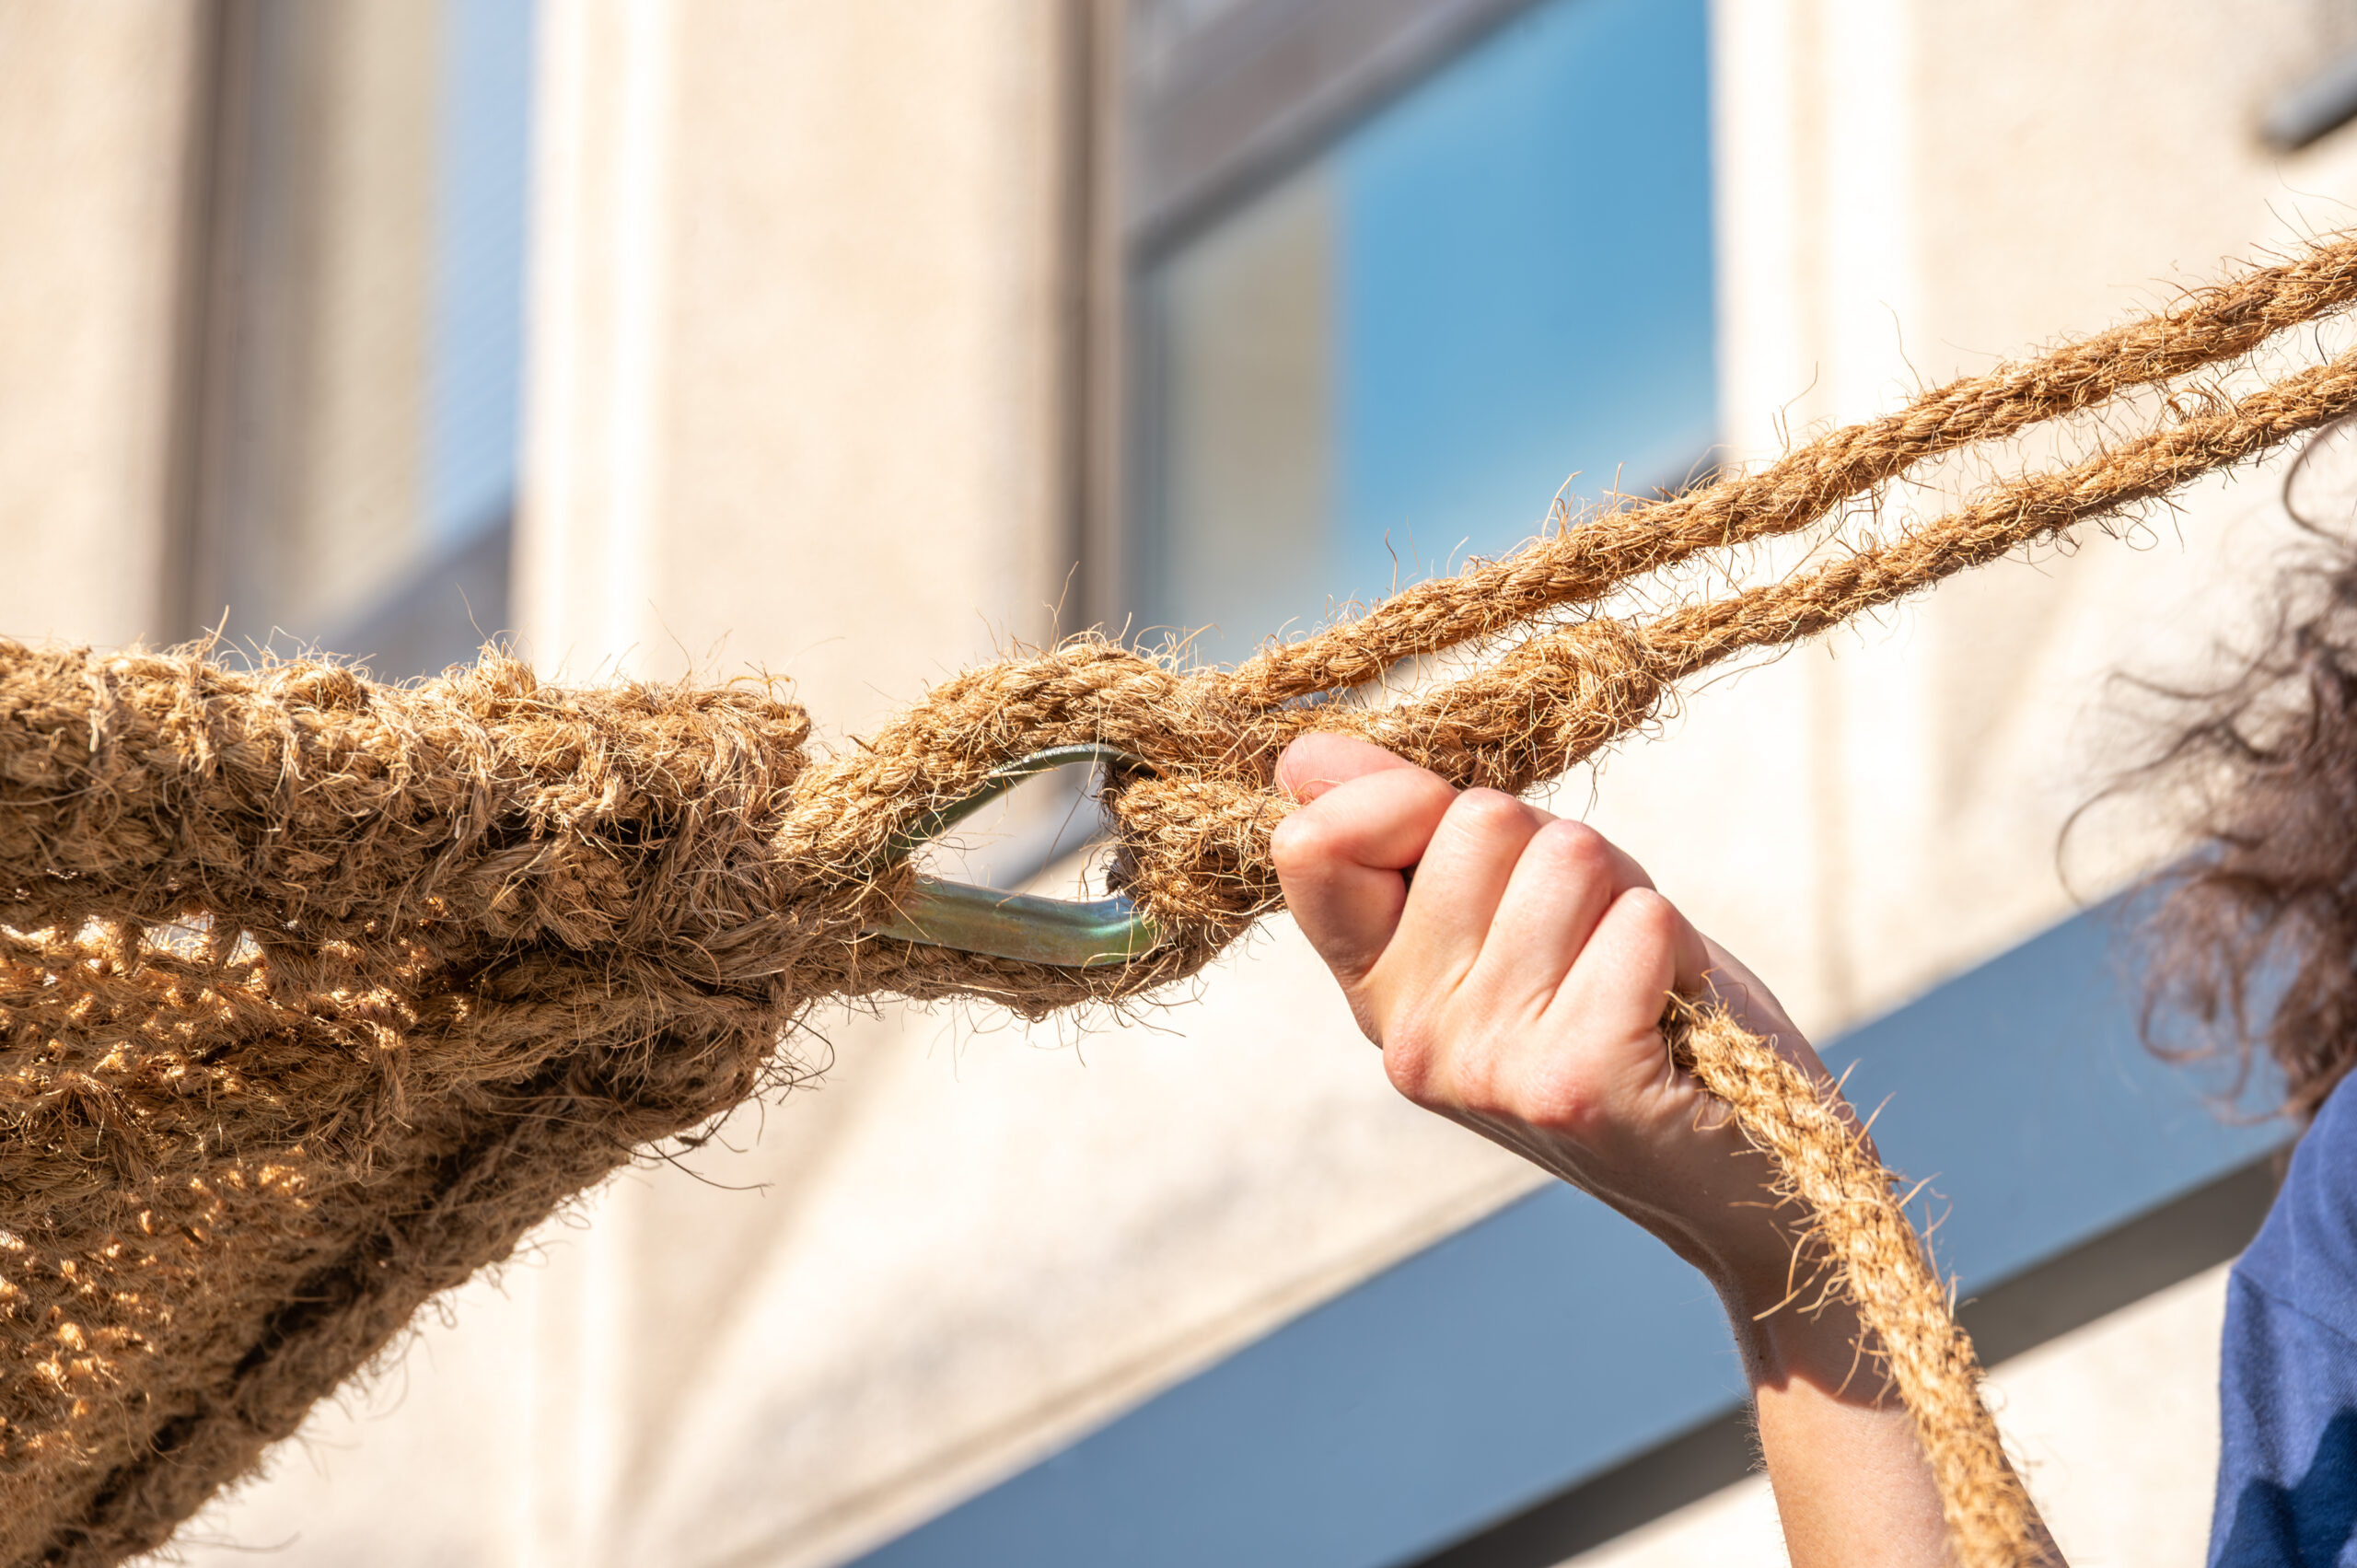
In order to install this shade sail, galvanized steel heart shaped thimbles are necessary. They are pre-installed in each of the loops, so you don’t have to worry about them.
Follow these step-by-step instructions to properly install your shade sail :
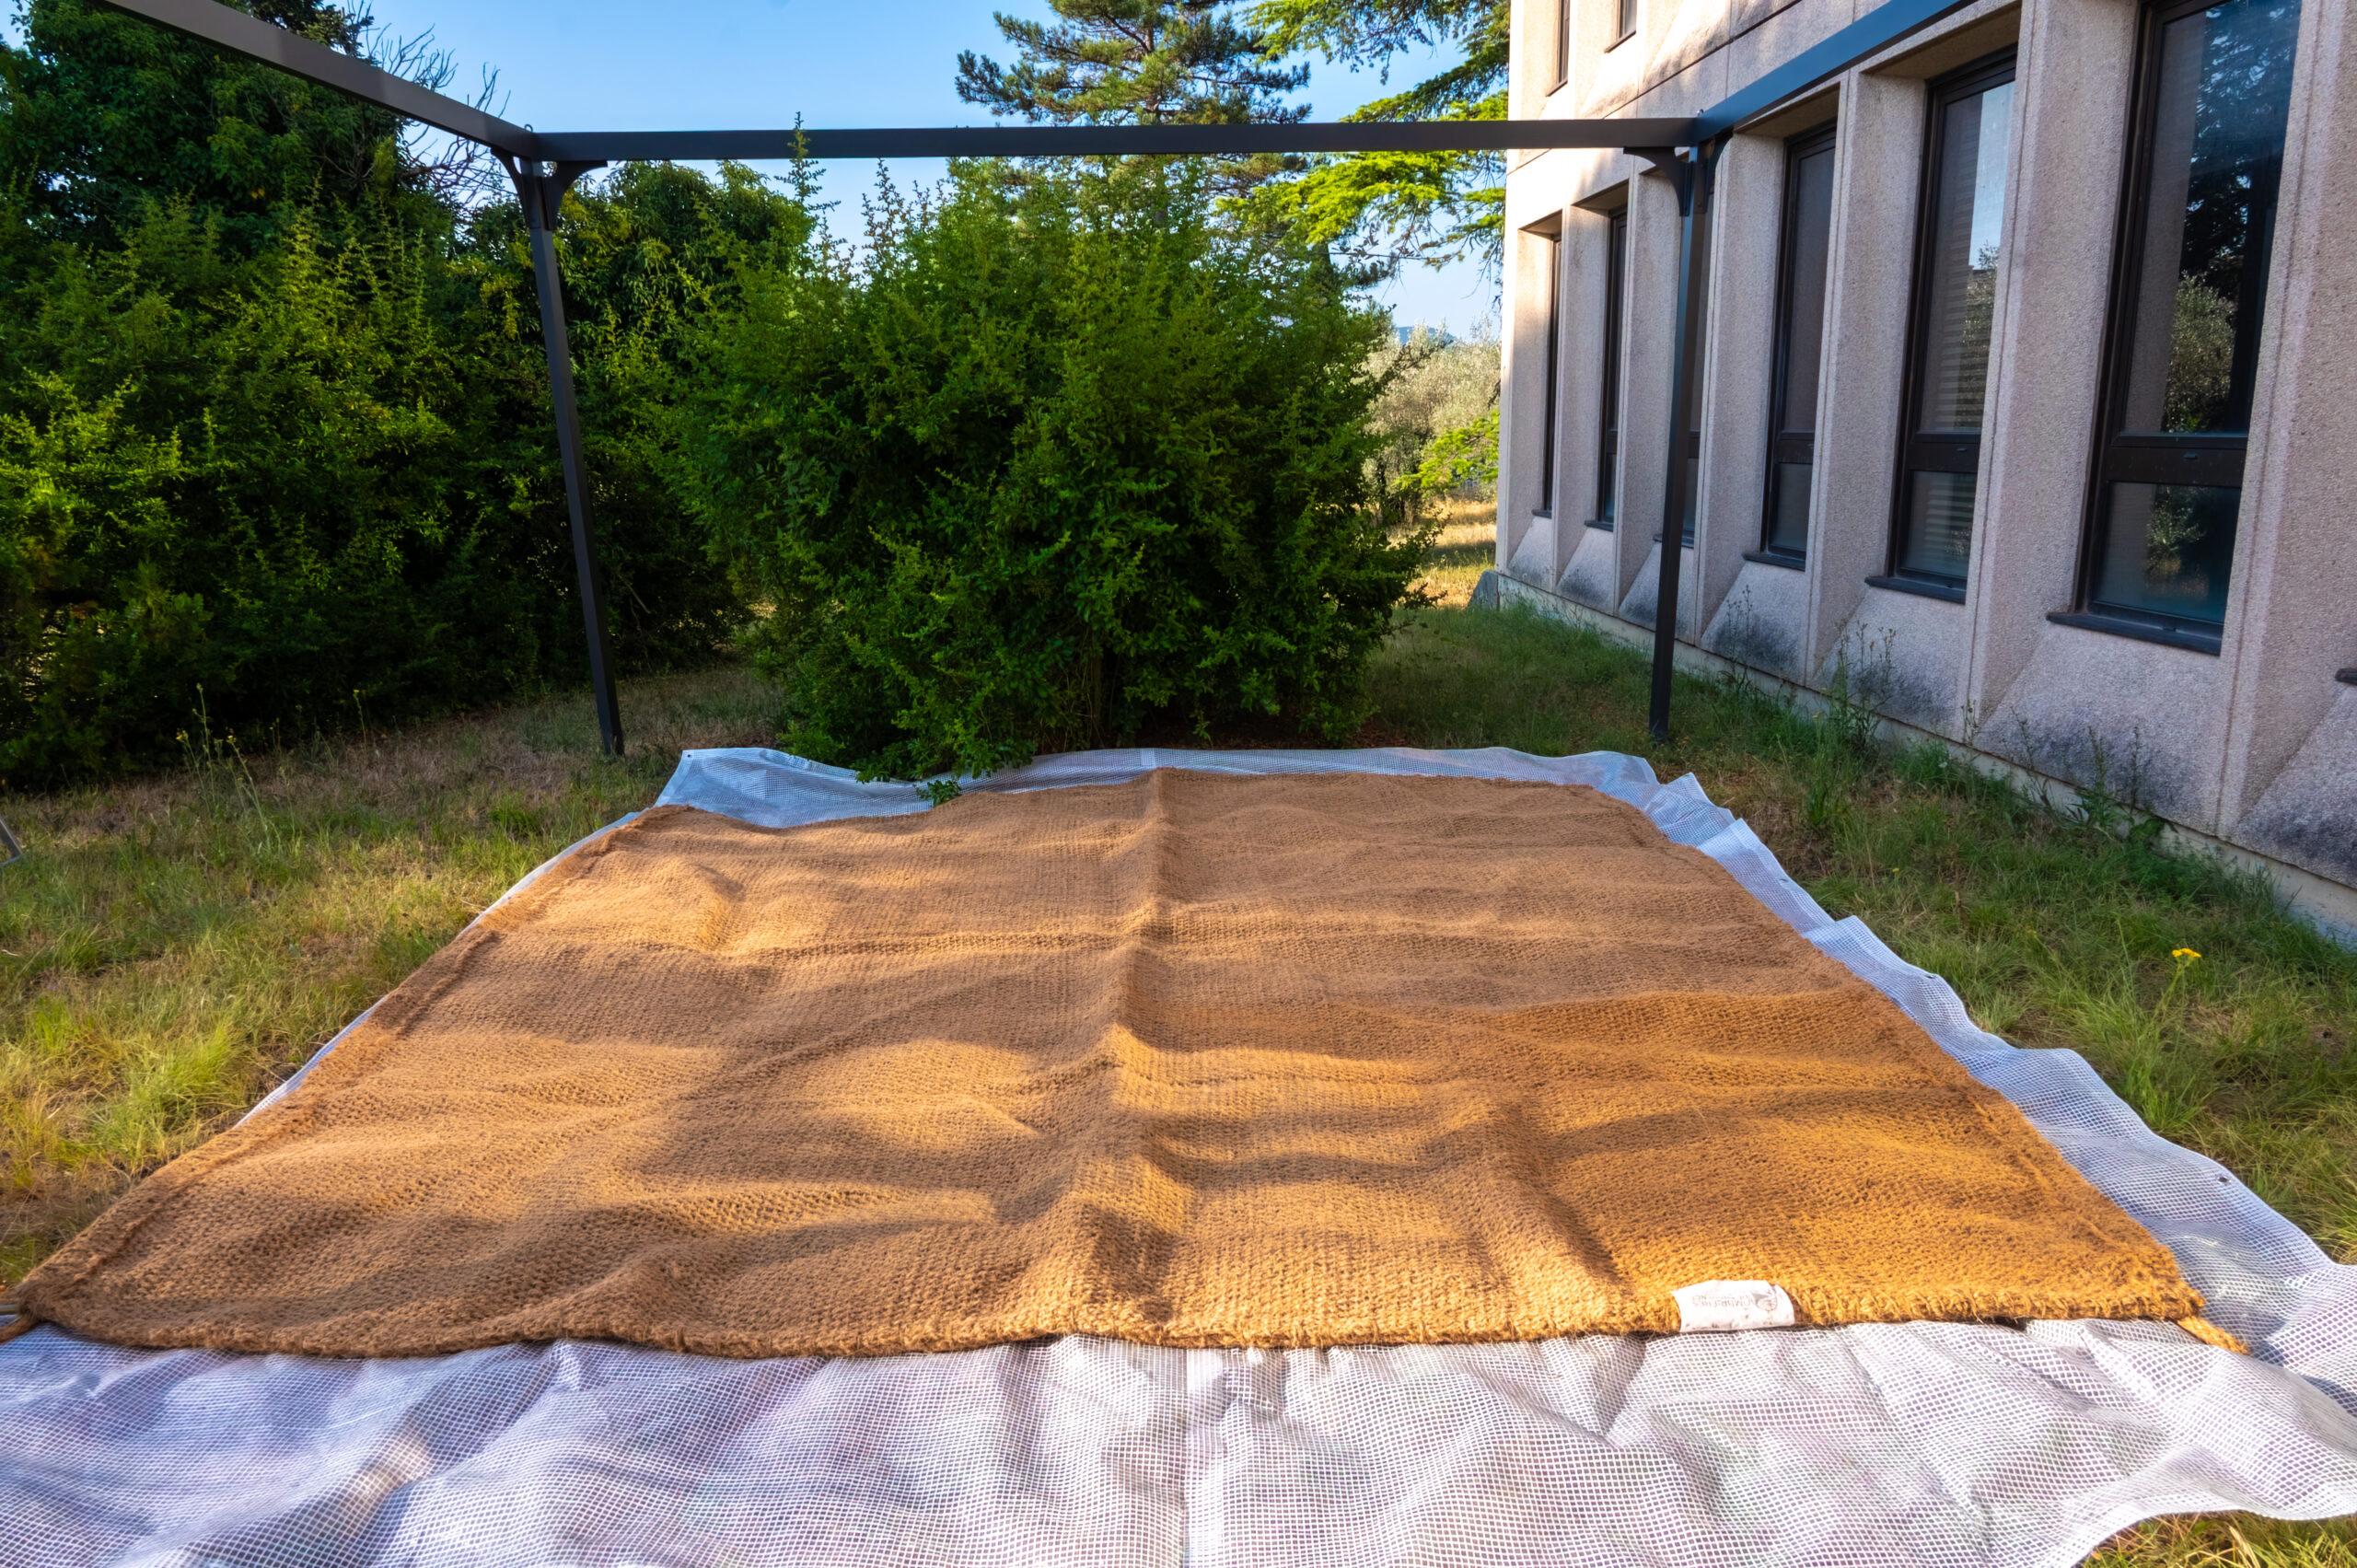
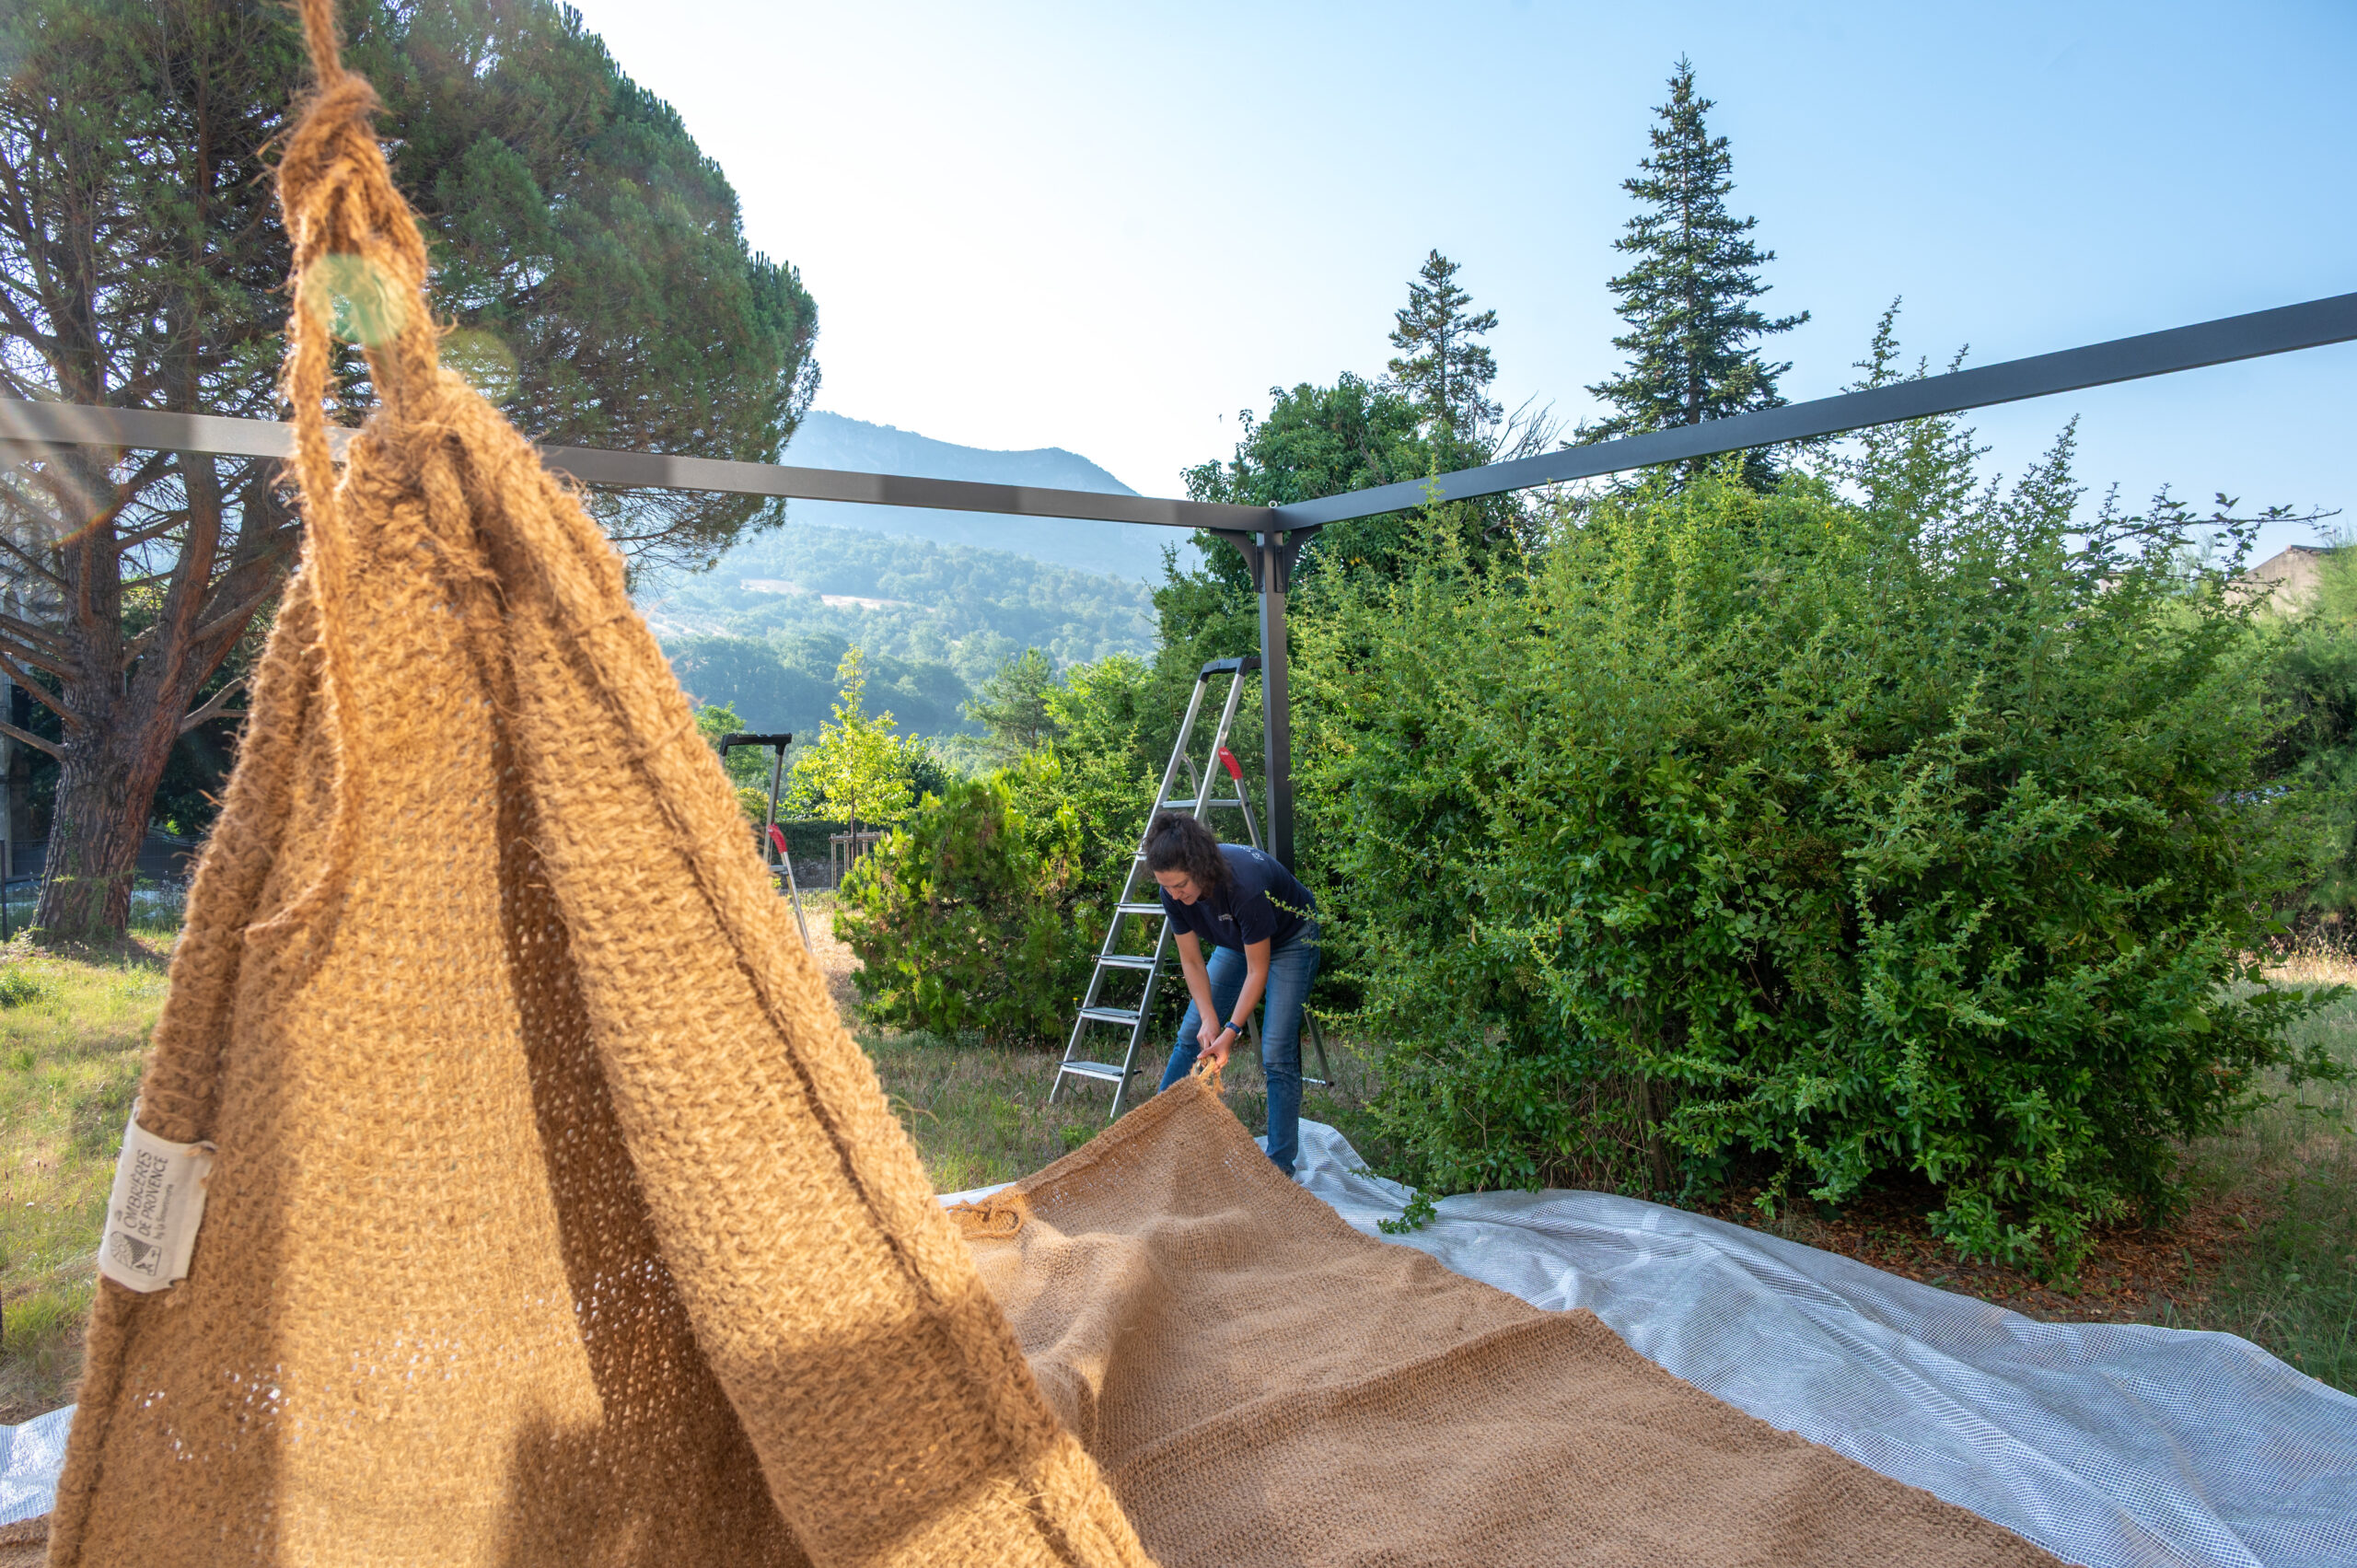
1 Unfold the shade sail on the ground to position the diagonal reinforced ropes correctly: they should be facing downward, toward the ground.
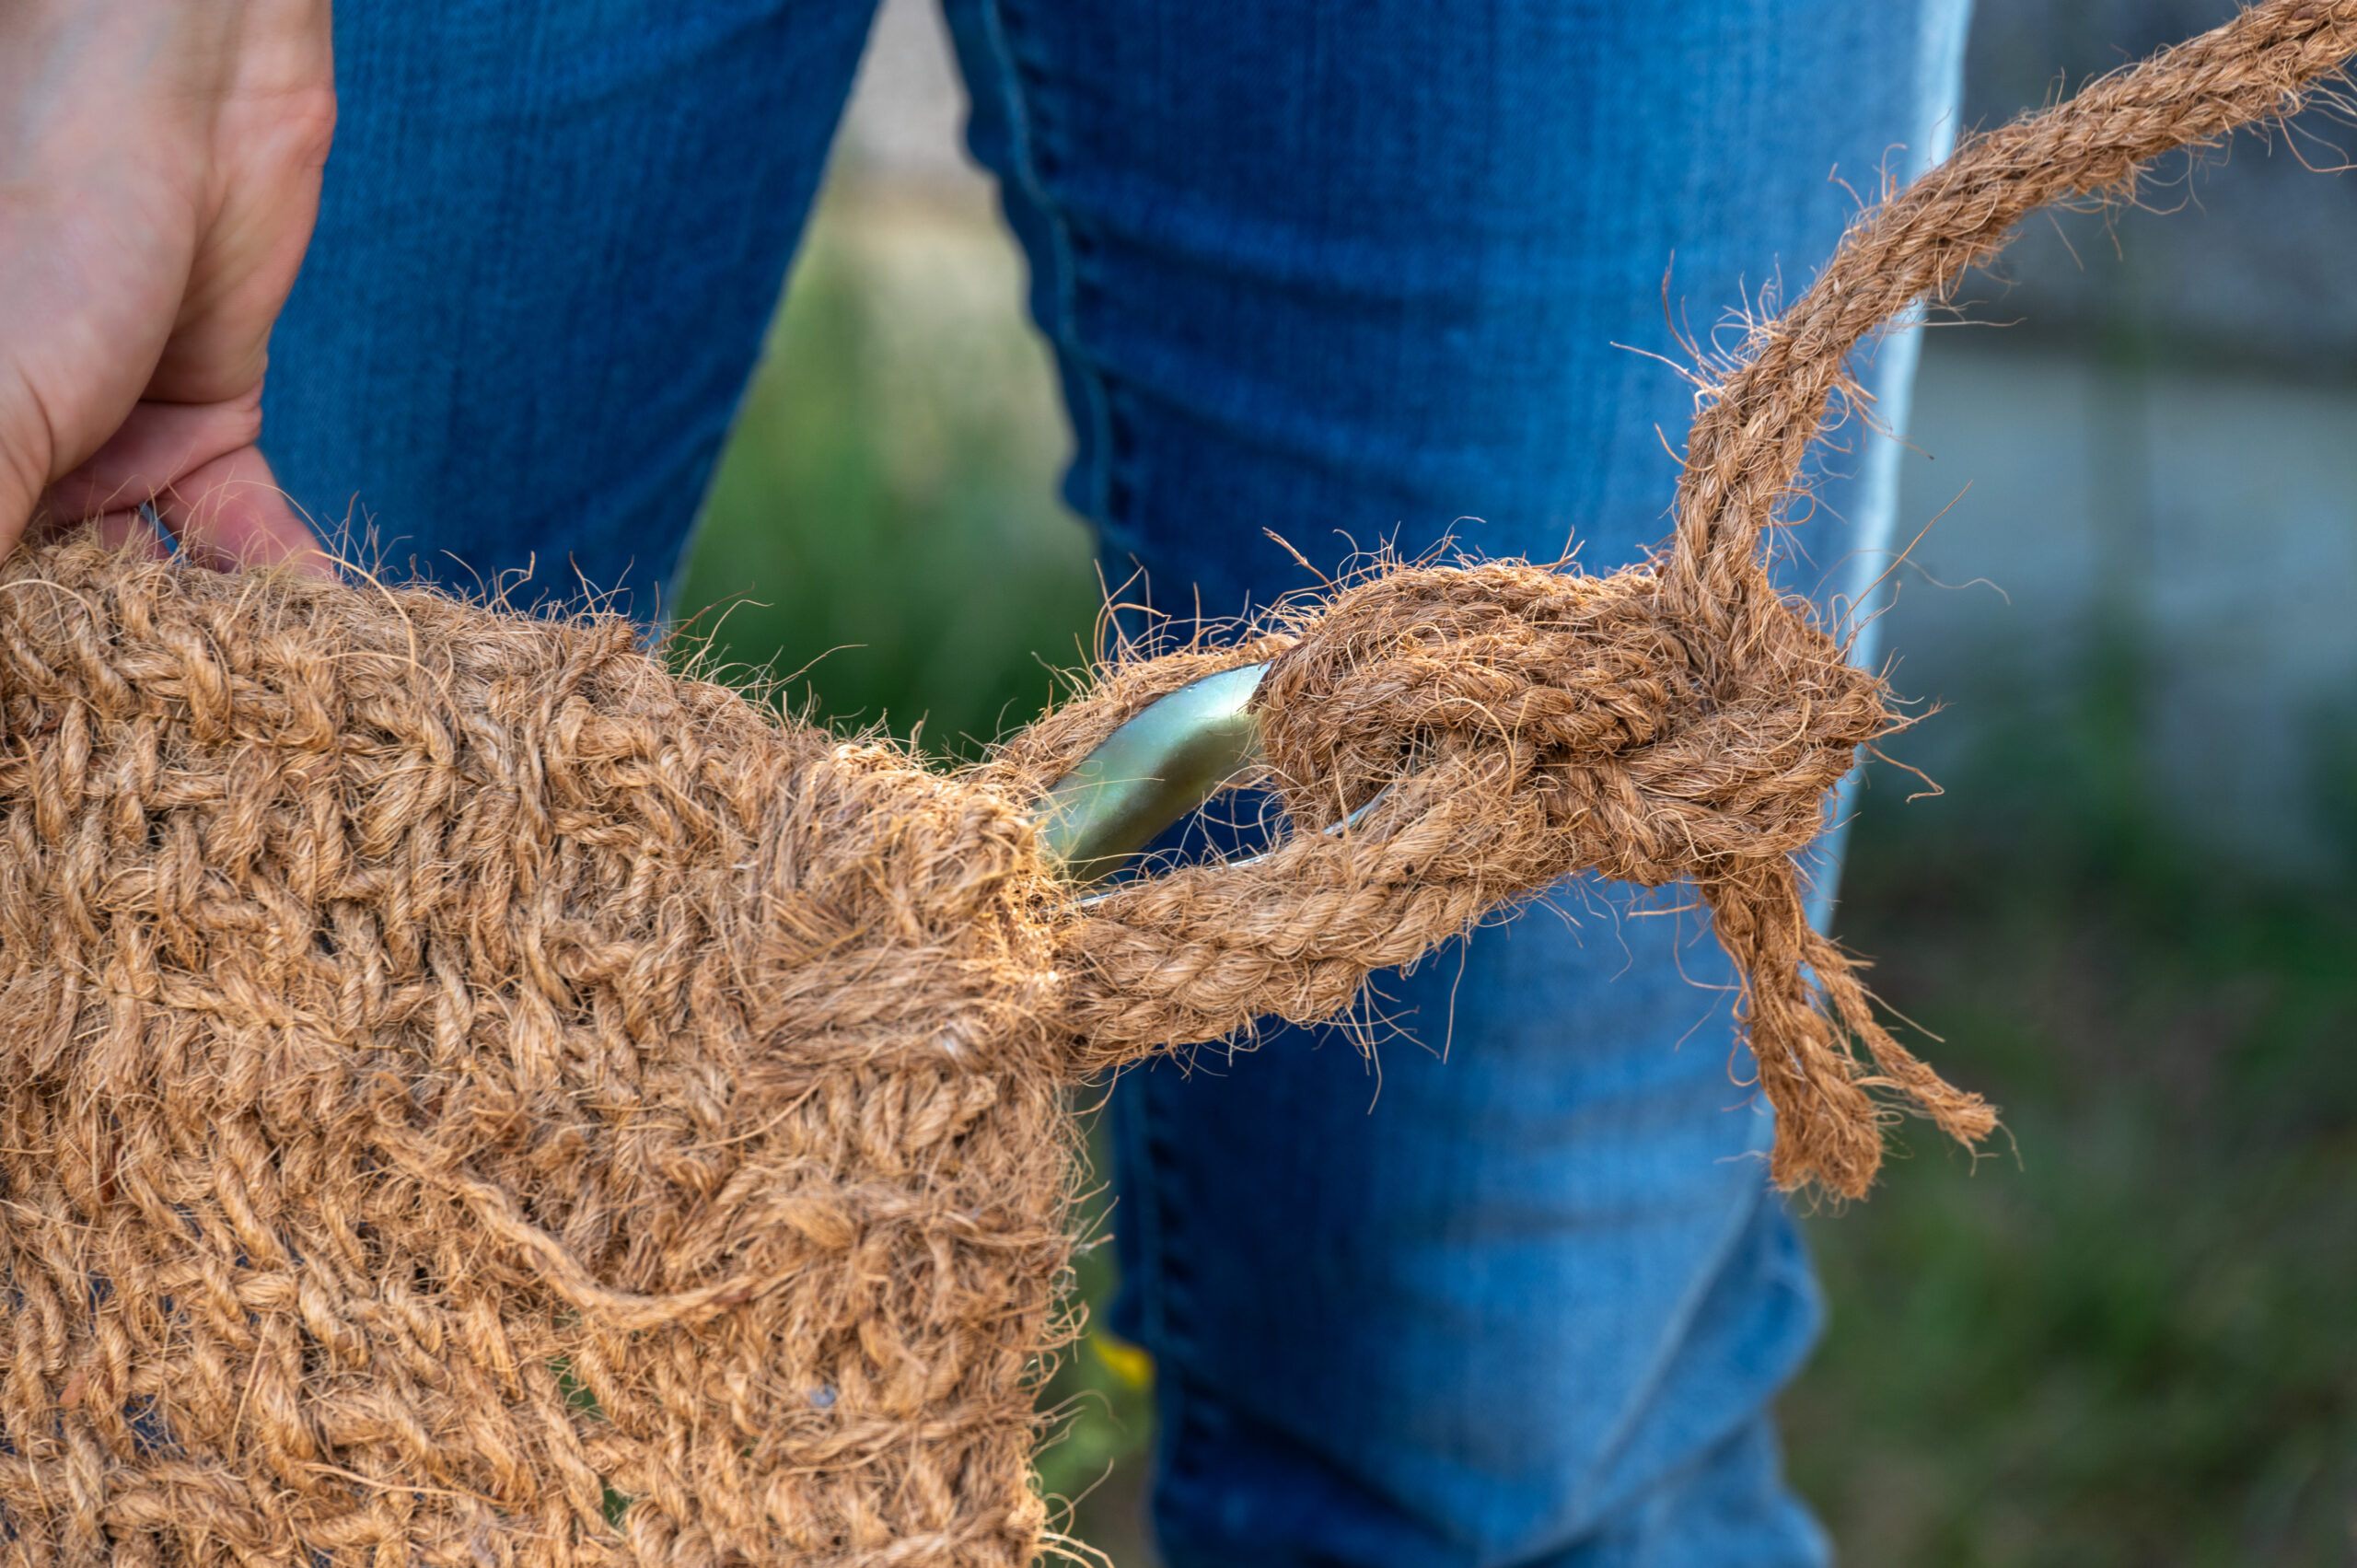
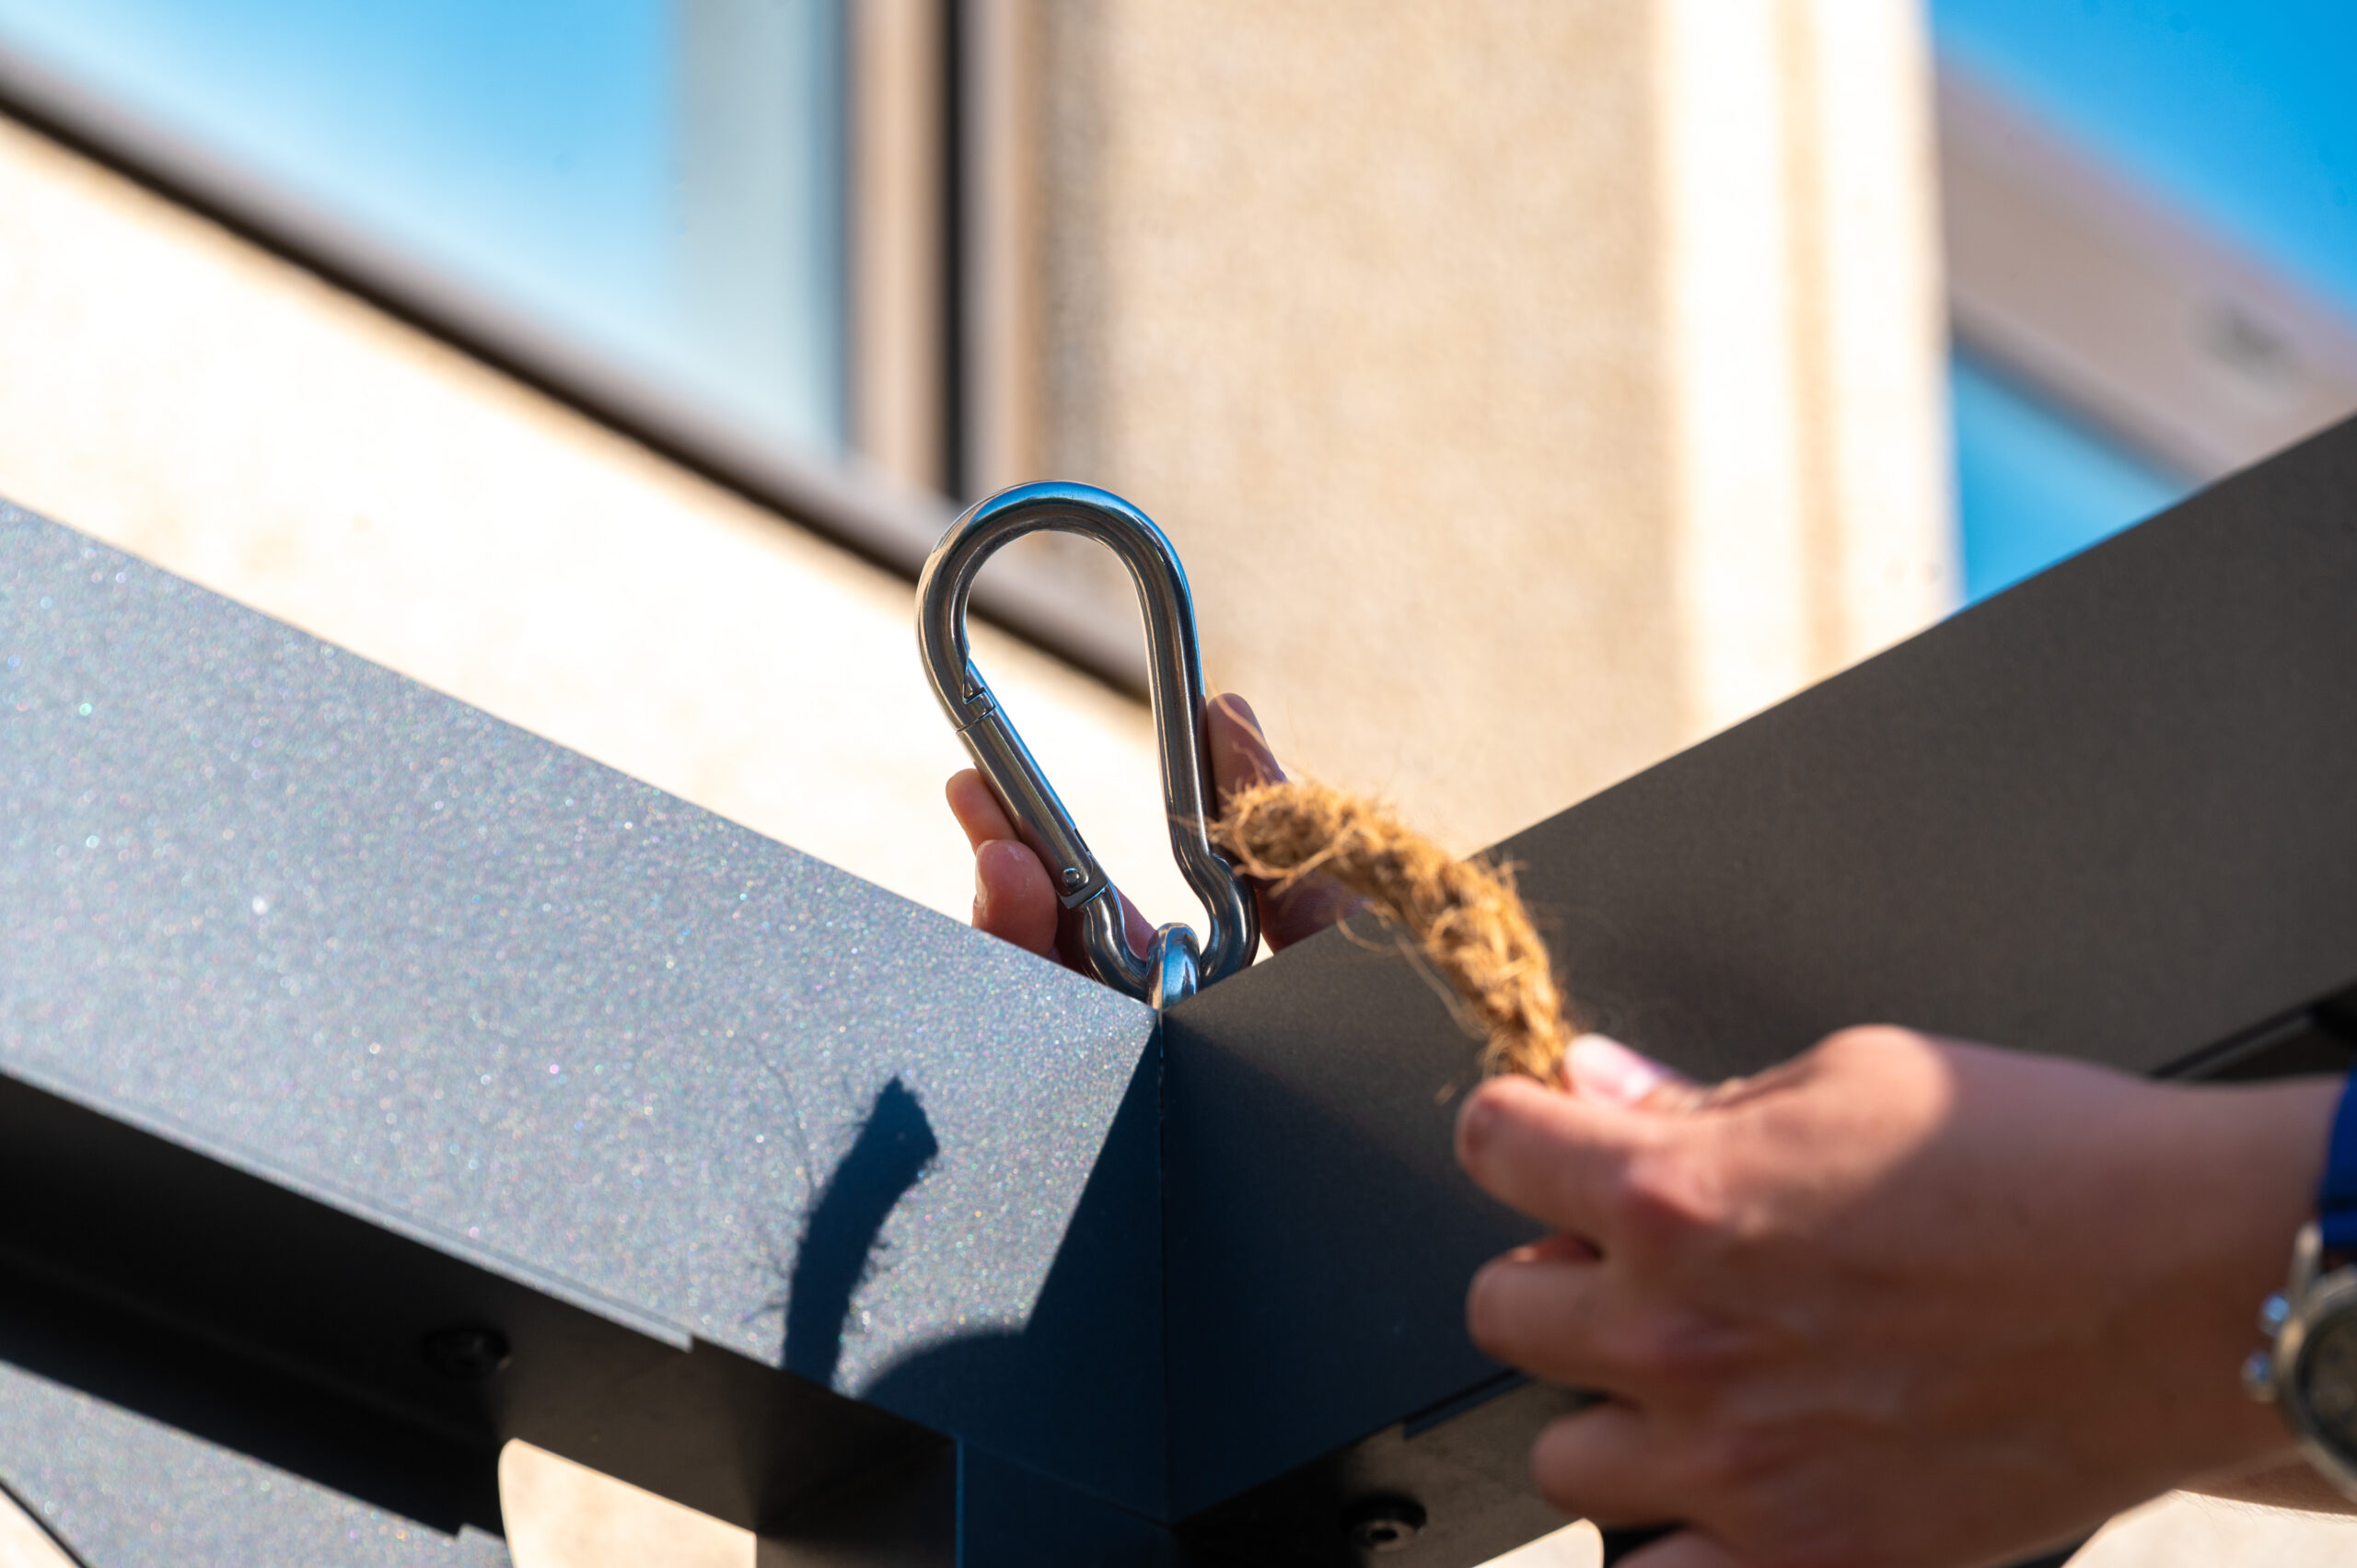
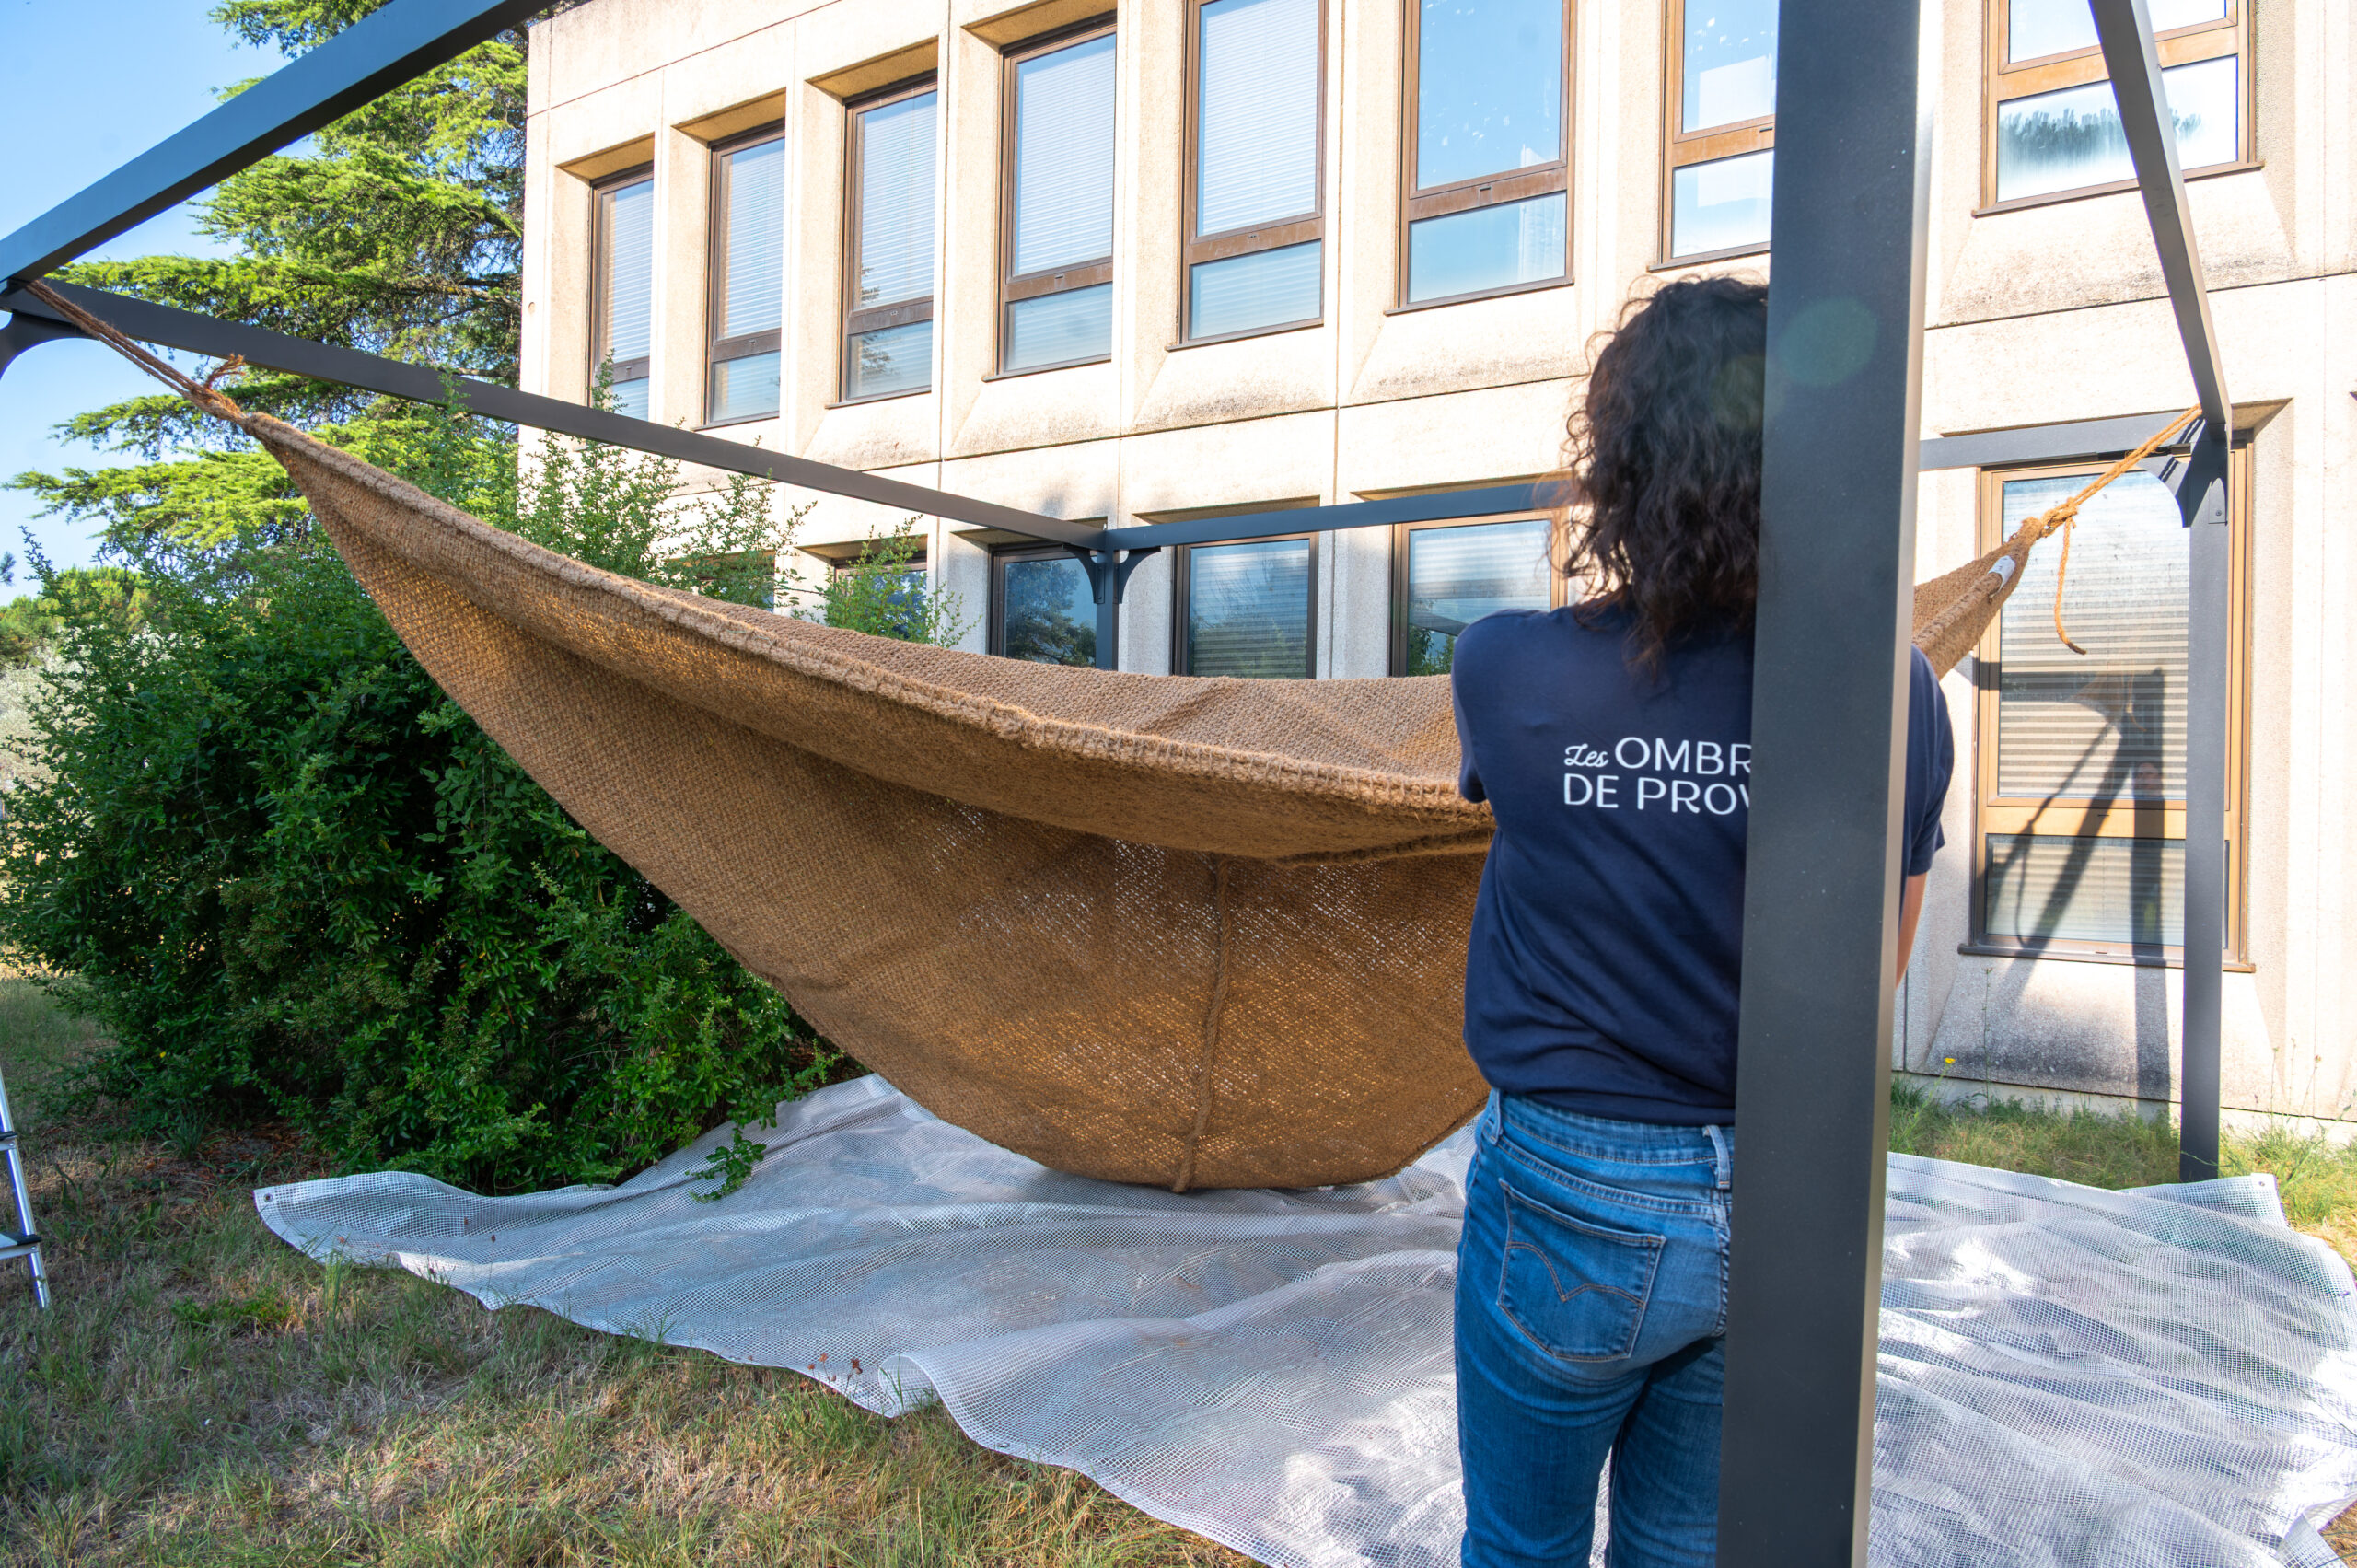
2 Secure two opposite corners with light tension. Attach them to your anchor points (wall mounts, posts, trees or other structures) using coconut rope.
3 Thread the rope through the other two anchor points (for a wall, use a wall anchor and a ring bolt).
4 Tighten in short bursts to adjust the tension, using the rope in a double loop to achieve optimal tension.
If necessary, you can use tensioners to achieve better tension, or even use our support kit in certain situations :
– the sail is large (e.g., 4x4m)
– the designated attachment points are too low
Recommended mounting height: at least 2.8 m; for sails weighing more than 19 kg, aim for 3 m.
The selected size must be at least 50 cm smaller than the area to be shaded. For example: for an actual available area of 4 x 4 m, the maximum canopy size must be 3.50 x 3.50 m.
The more distance you measure between each corner and its fixation point (poles or distant tree branches …), the more you’ll have to comply with the crossed ropes alignment, as it is shown in the drawing below.
Depending of the distance, you’ll have to choose between one rope or the other (Ø 1 cm ou Ø 1,4 cm).
Position the attachment points in line with the diagonal reinforcement cords to ensure proper tension in the fabric and minimize the risk of friction :

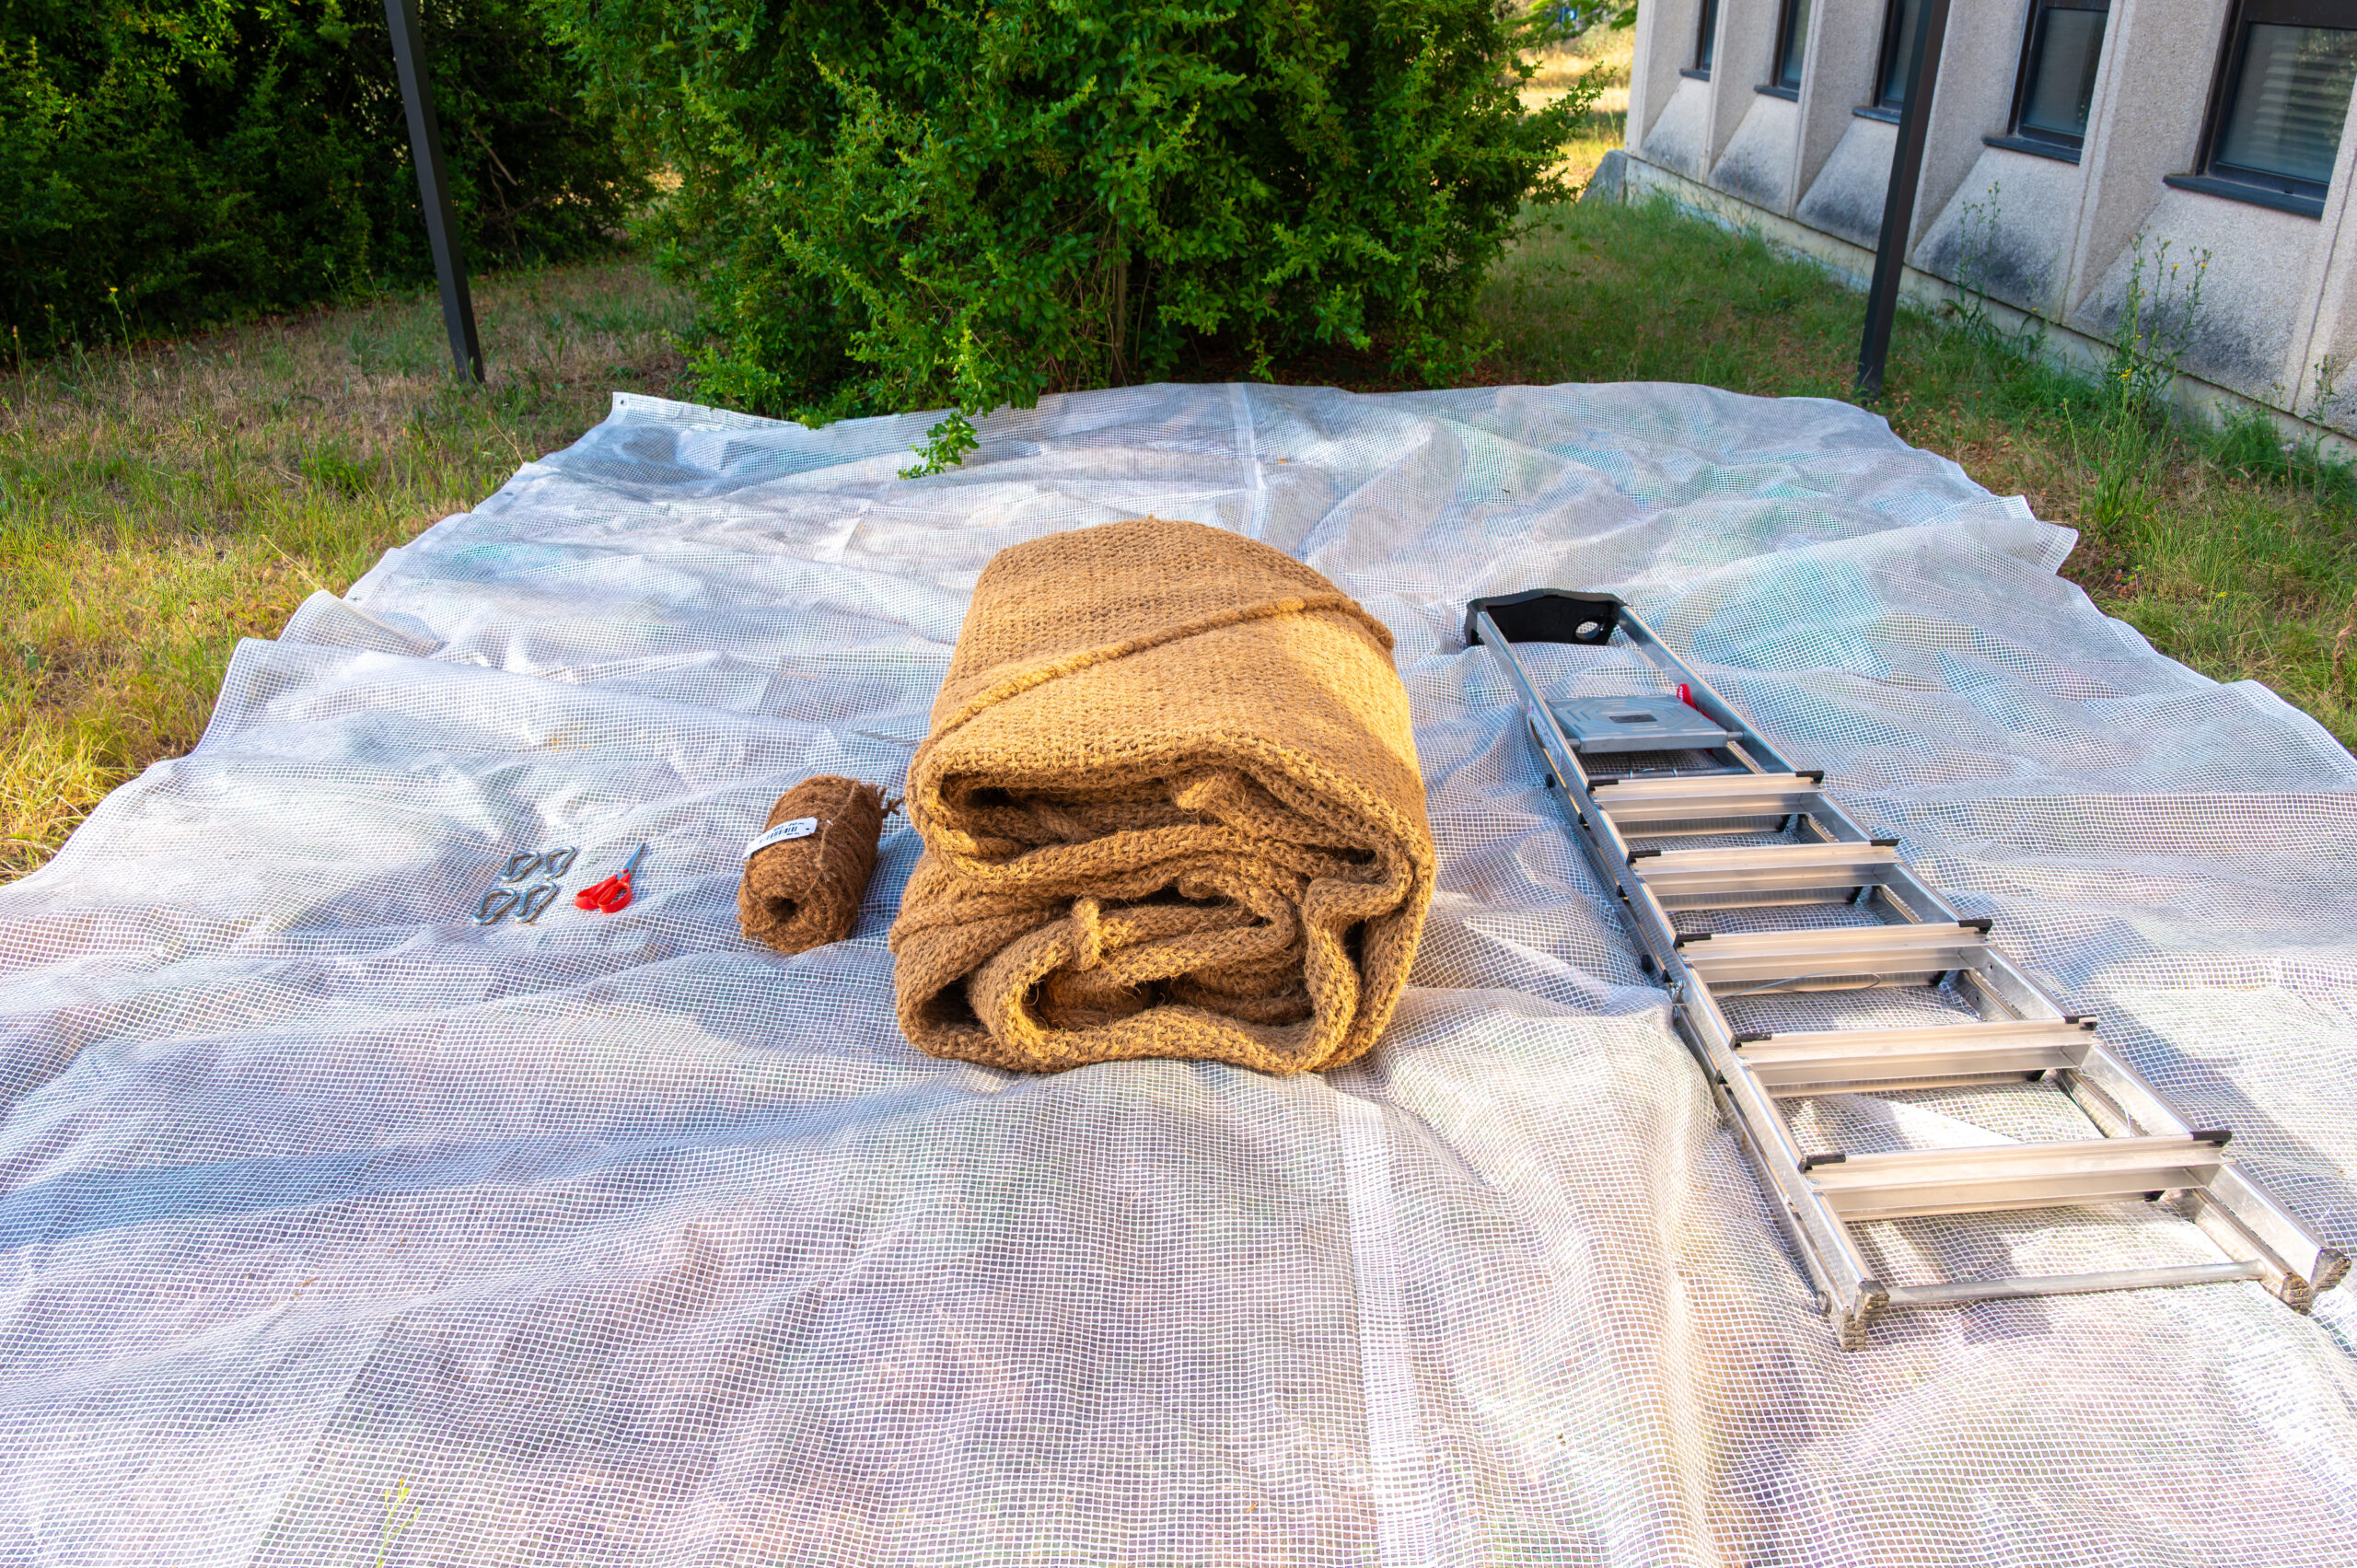
Recommended installation equipment and fittings for your 4-point attachment coco shade sail :

