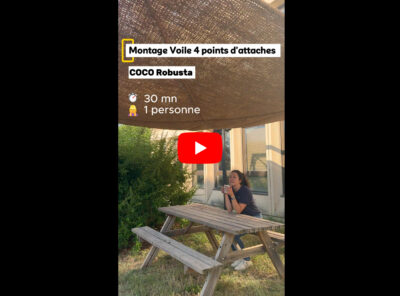
Today we show you how to install our 4-point attachment shade sail, one of our easiest models to set up, whether on a pergola, posts, a wall, or between two trees.
Follow our detailed step-by-step installation guide for a proper setup of your shade sail. Here, the shade screen is attached to a pergola-type structure without supporting crossbeams, using a sail from the Coco Robusta range.
Good to know: a single person can set up this 3.5 x 3.5m sail in just 30 minutes. However, for added ease, you can plan on having two people for the installation.
Installation Steps
1. Prepare the necessary tools and equipment
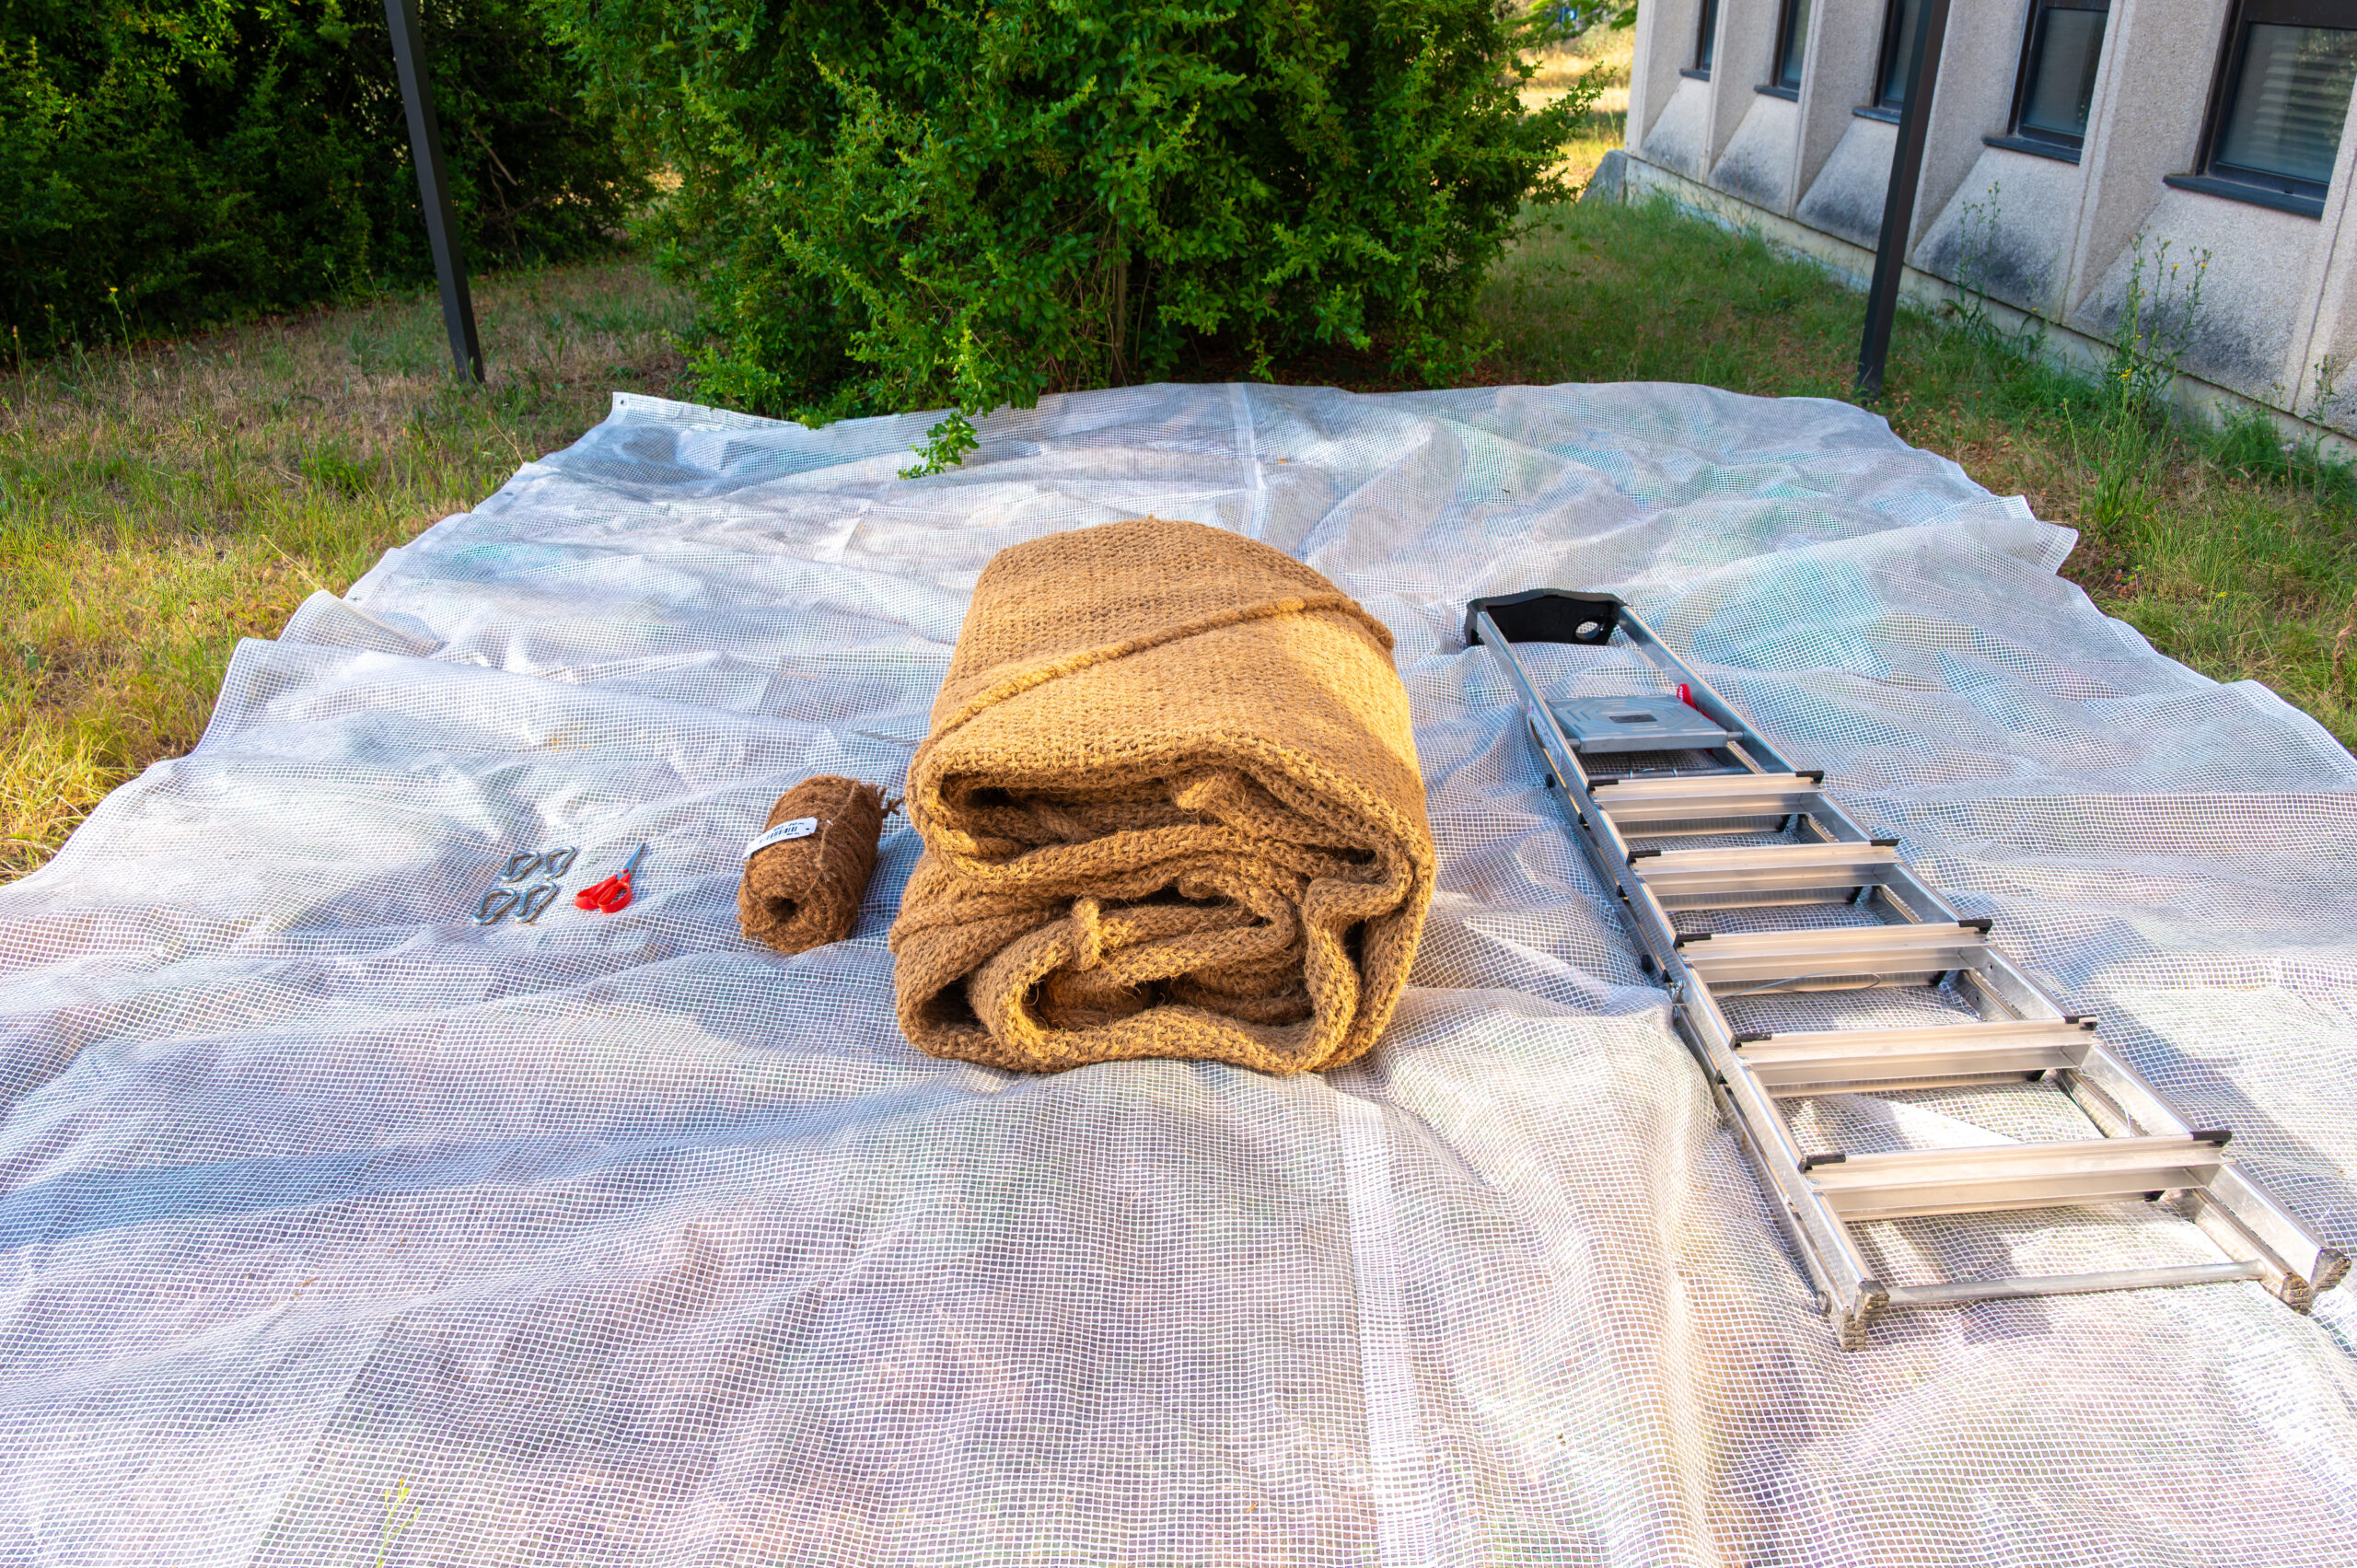
To install your shade screen, get the rope, scissors, and a stepladder ready. Depending on your setup location, you can also use carabiners to connect the attachment points and simplify off-season winter storage.
2. Position the diagonal ropes correctly
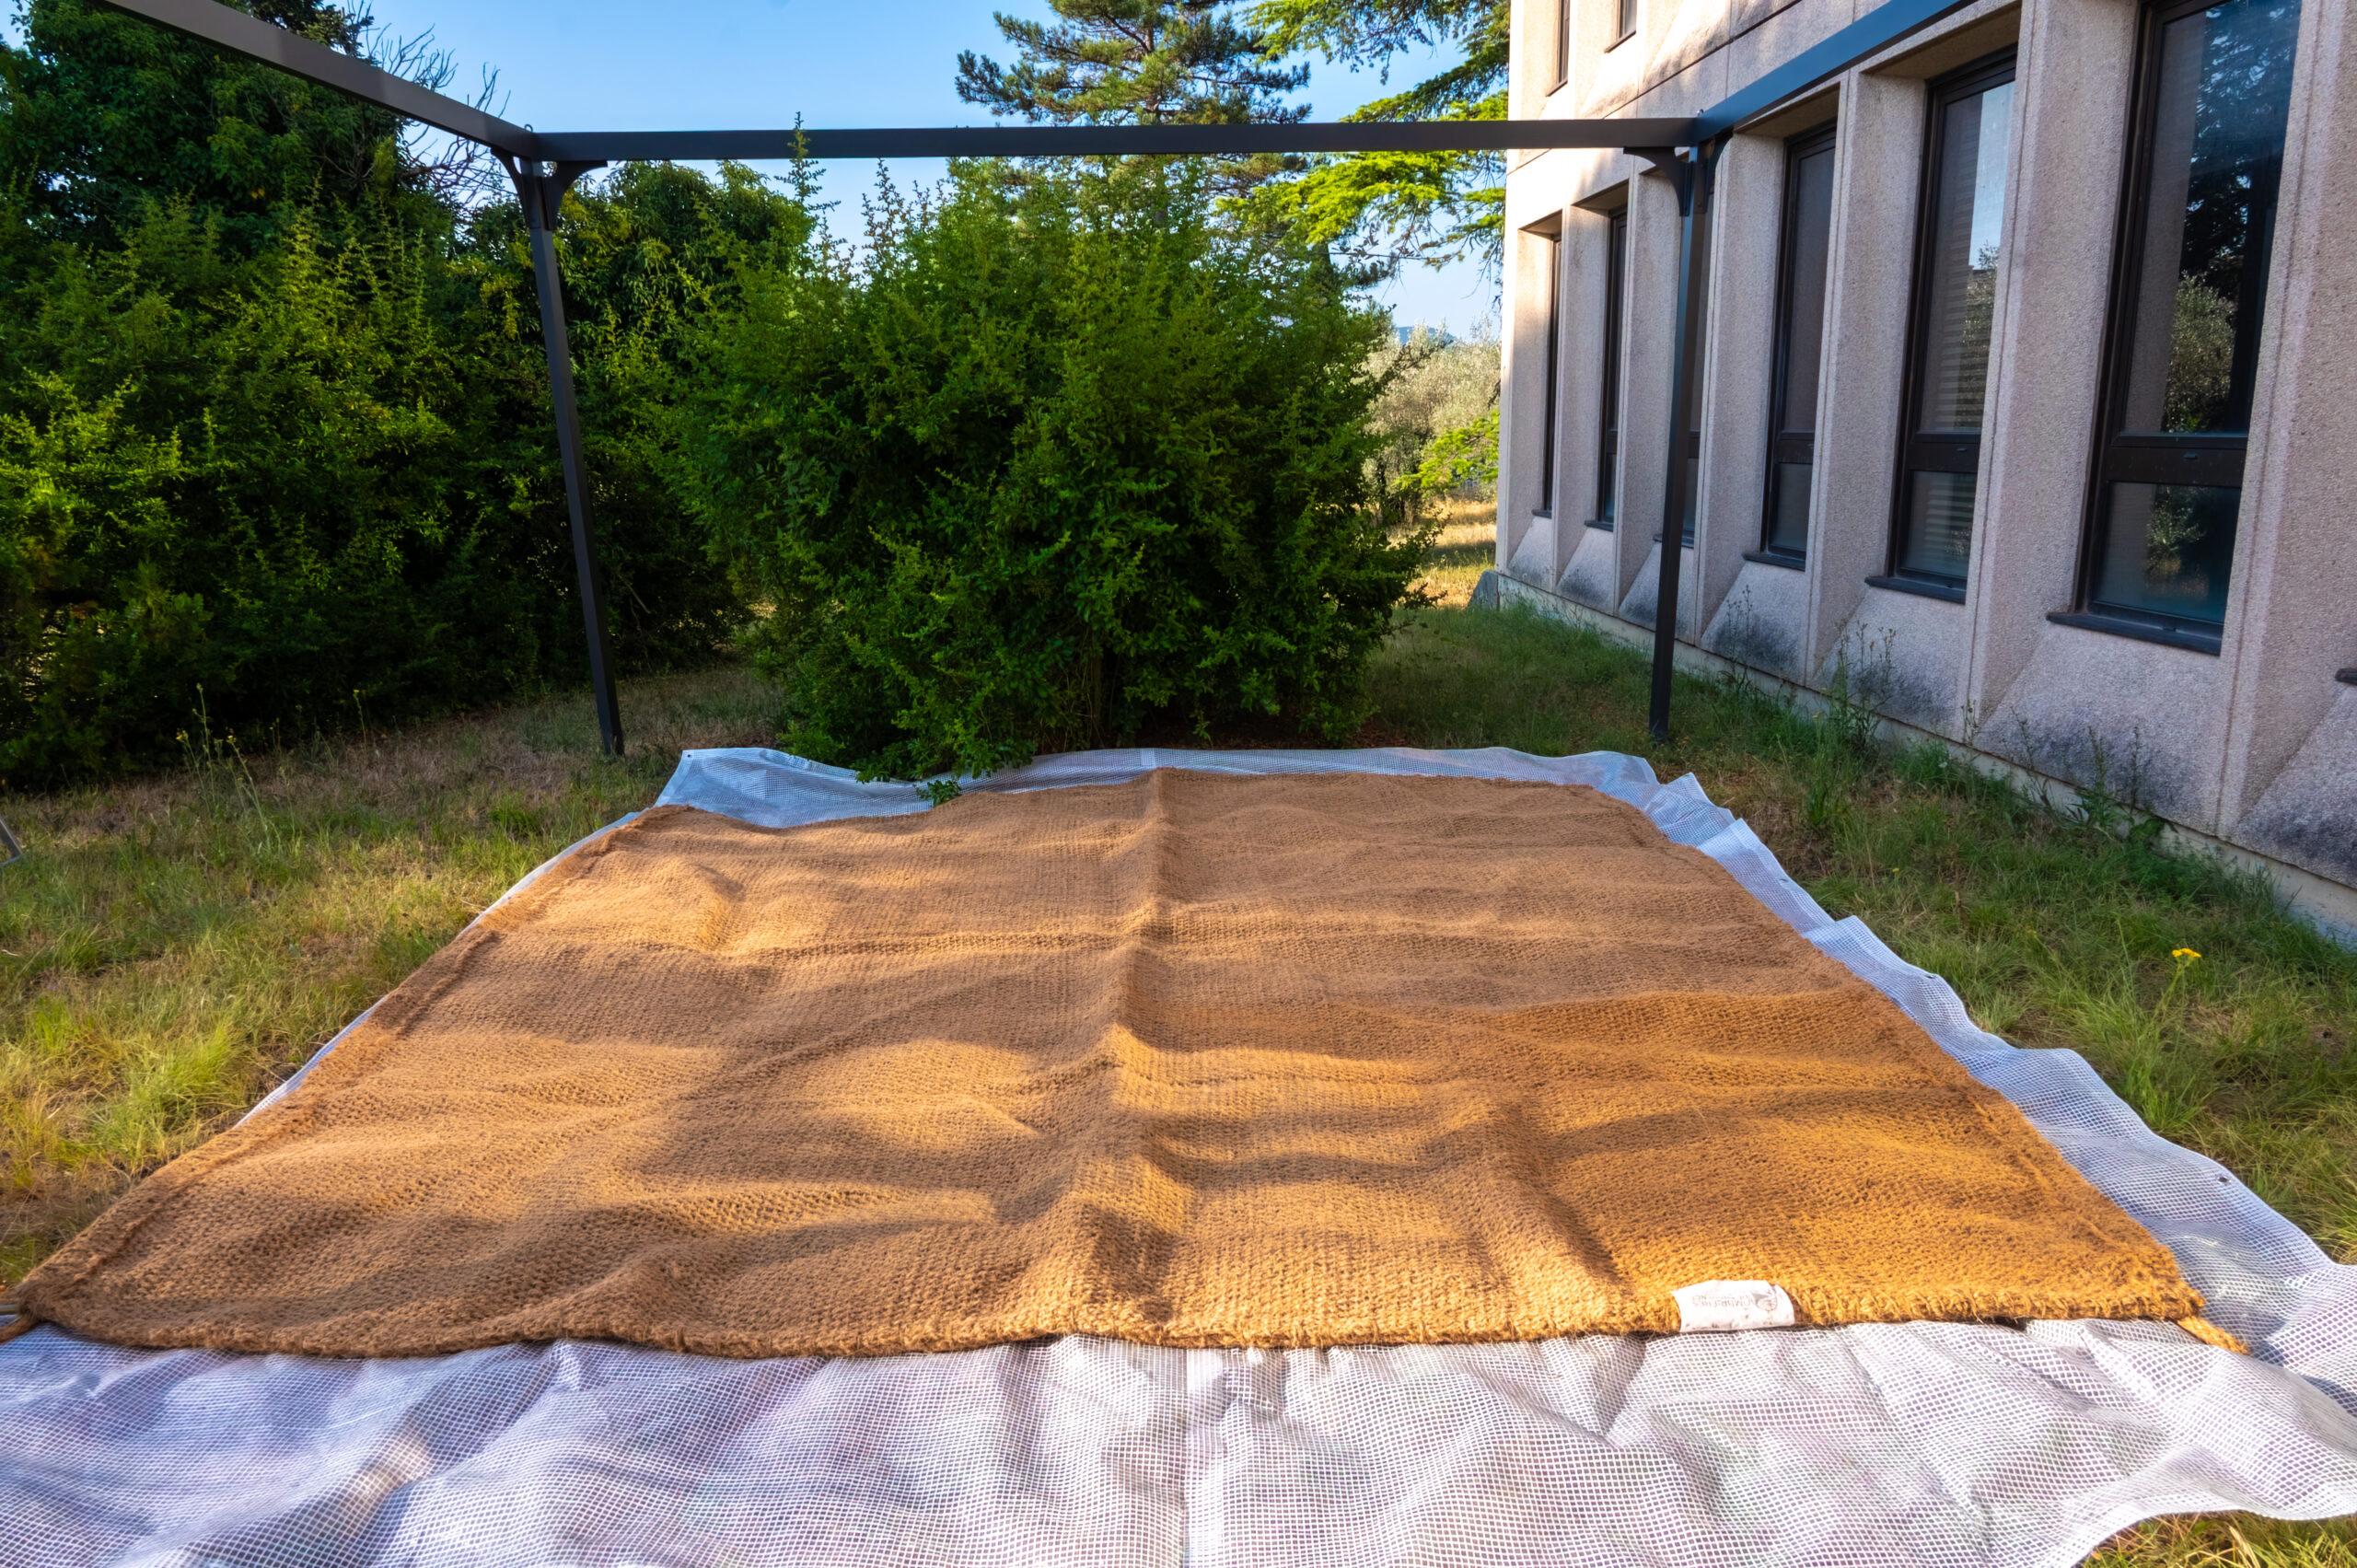
Unfold the shade screen on the ground—preferably on a clean surface or a tarp, to correctly position the diagonal ropes: they must face downwards, towards the ground, as they serve as support for the sail.
3. Secure two opposite corners with light tension
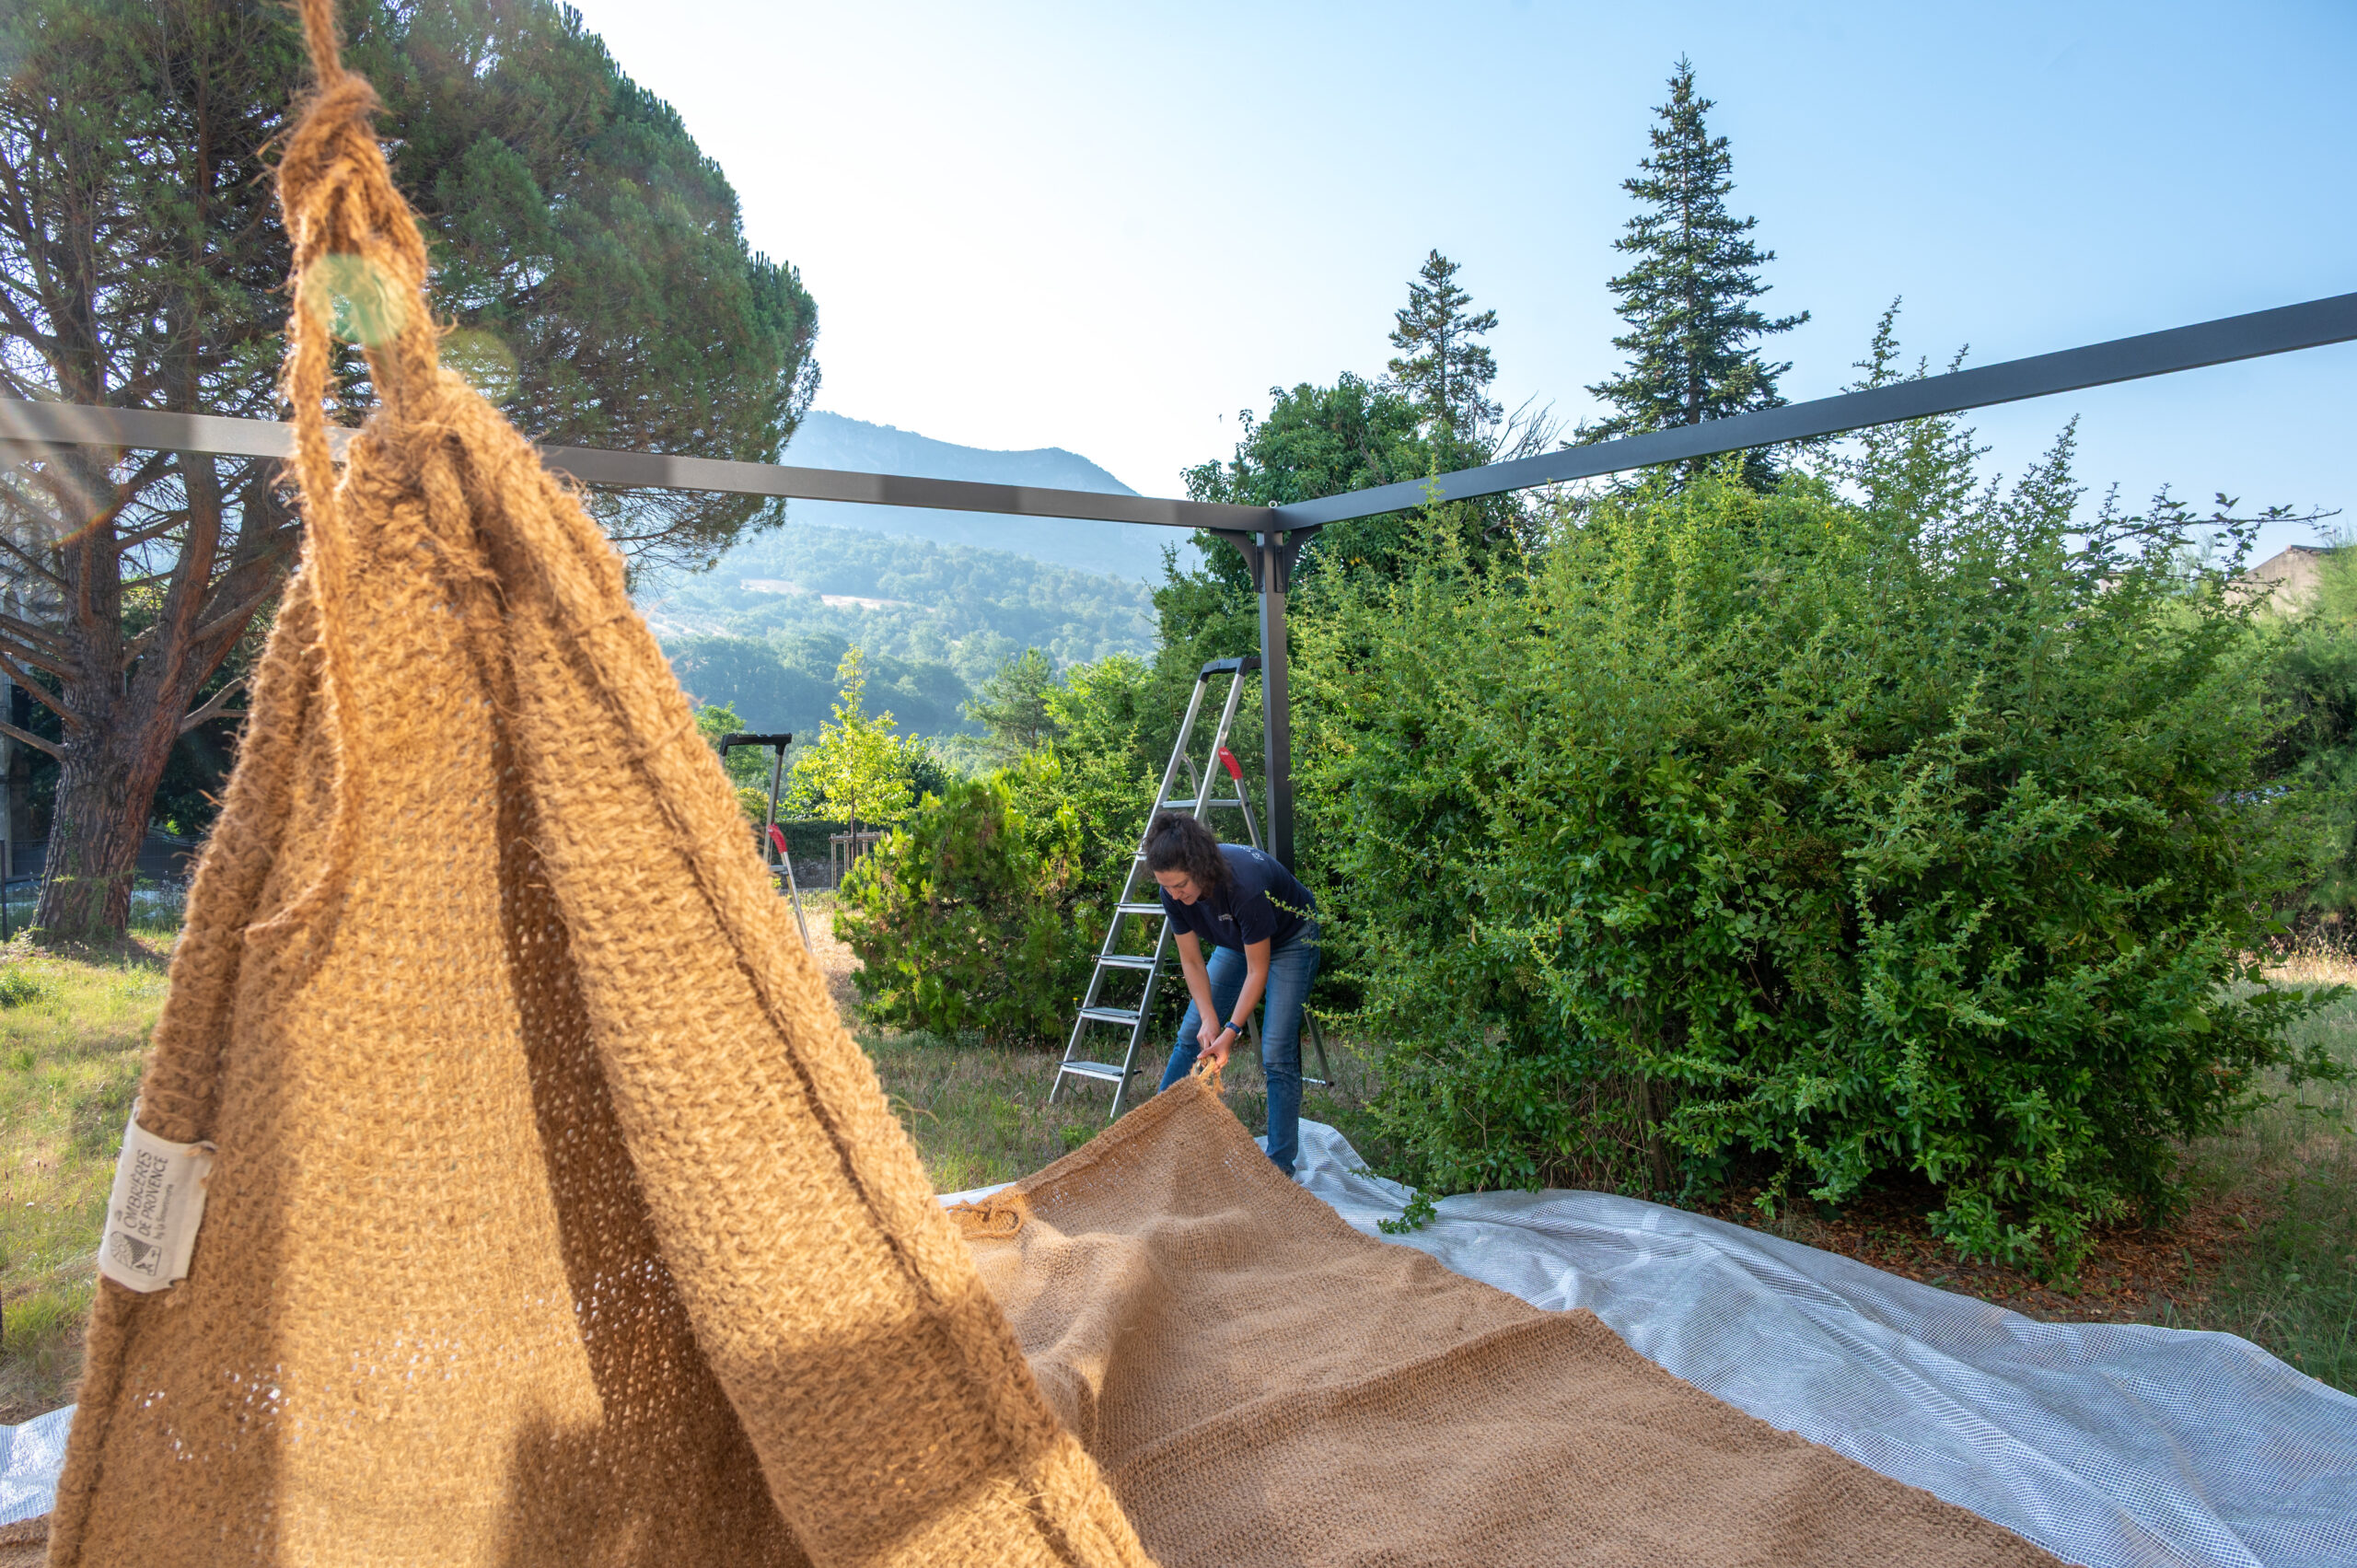
Connect the first two corners to your anchor points (wall fixings, posts, trees, or other) using coco rope.
4. Thread the rope into the remaining 2 attachment points
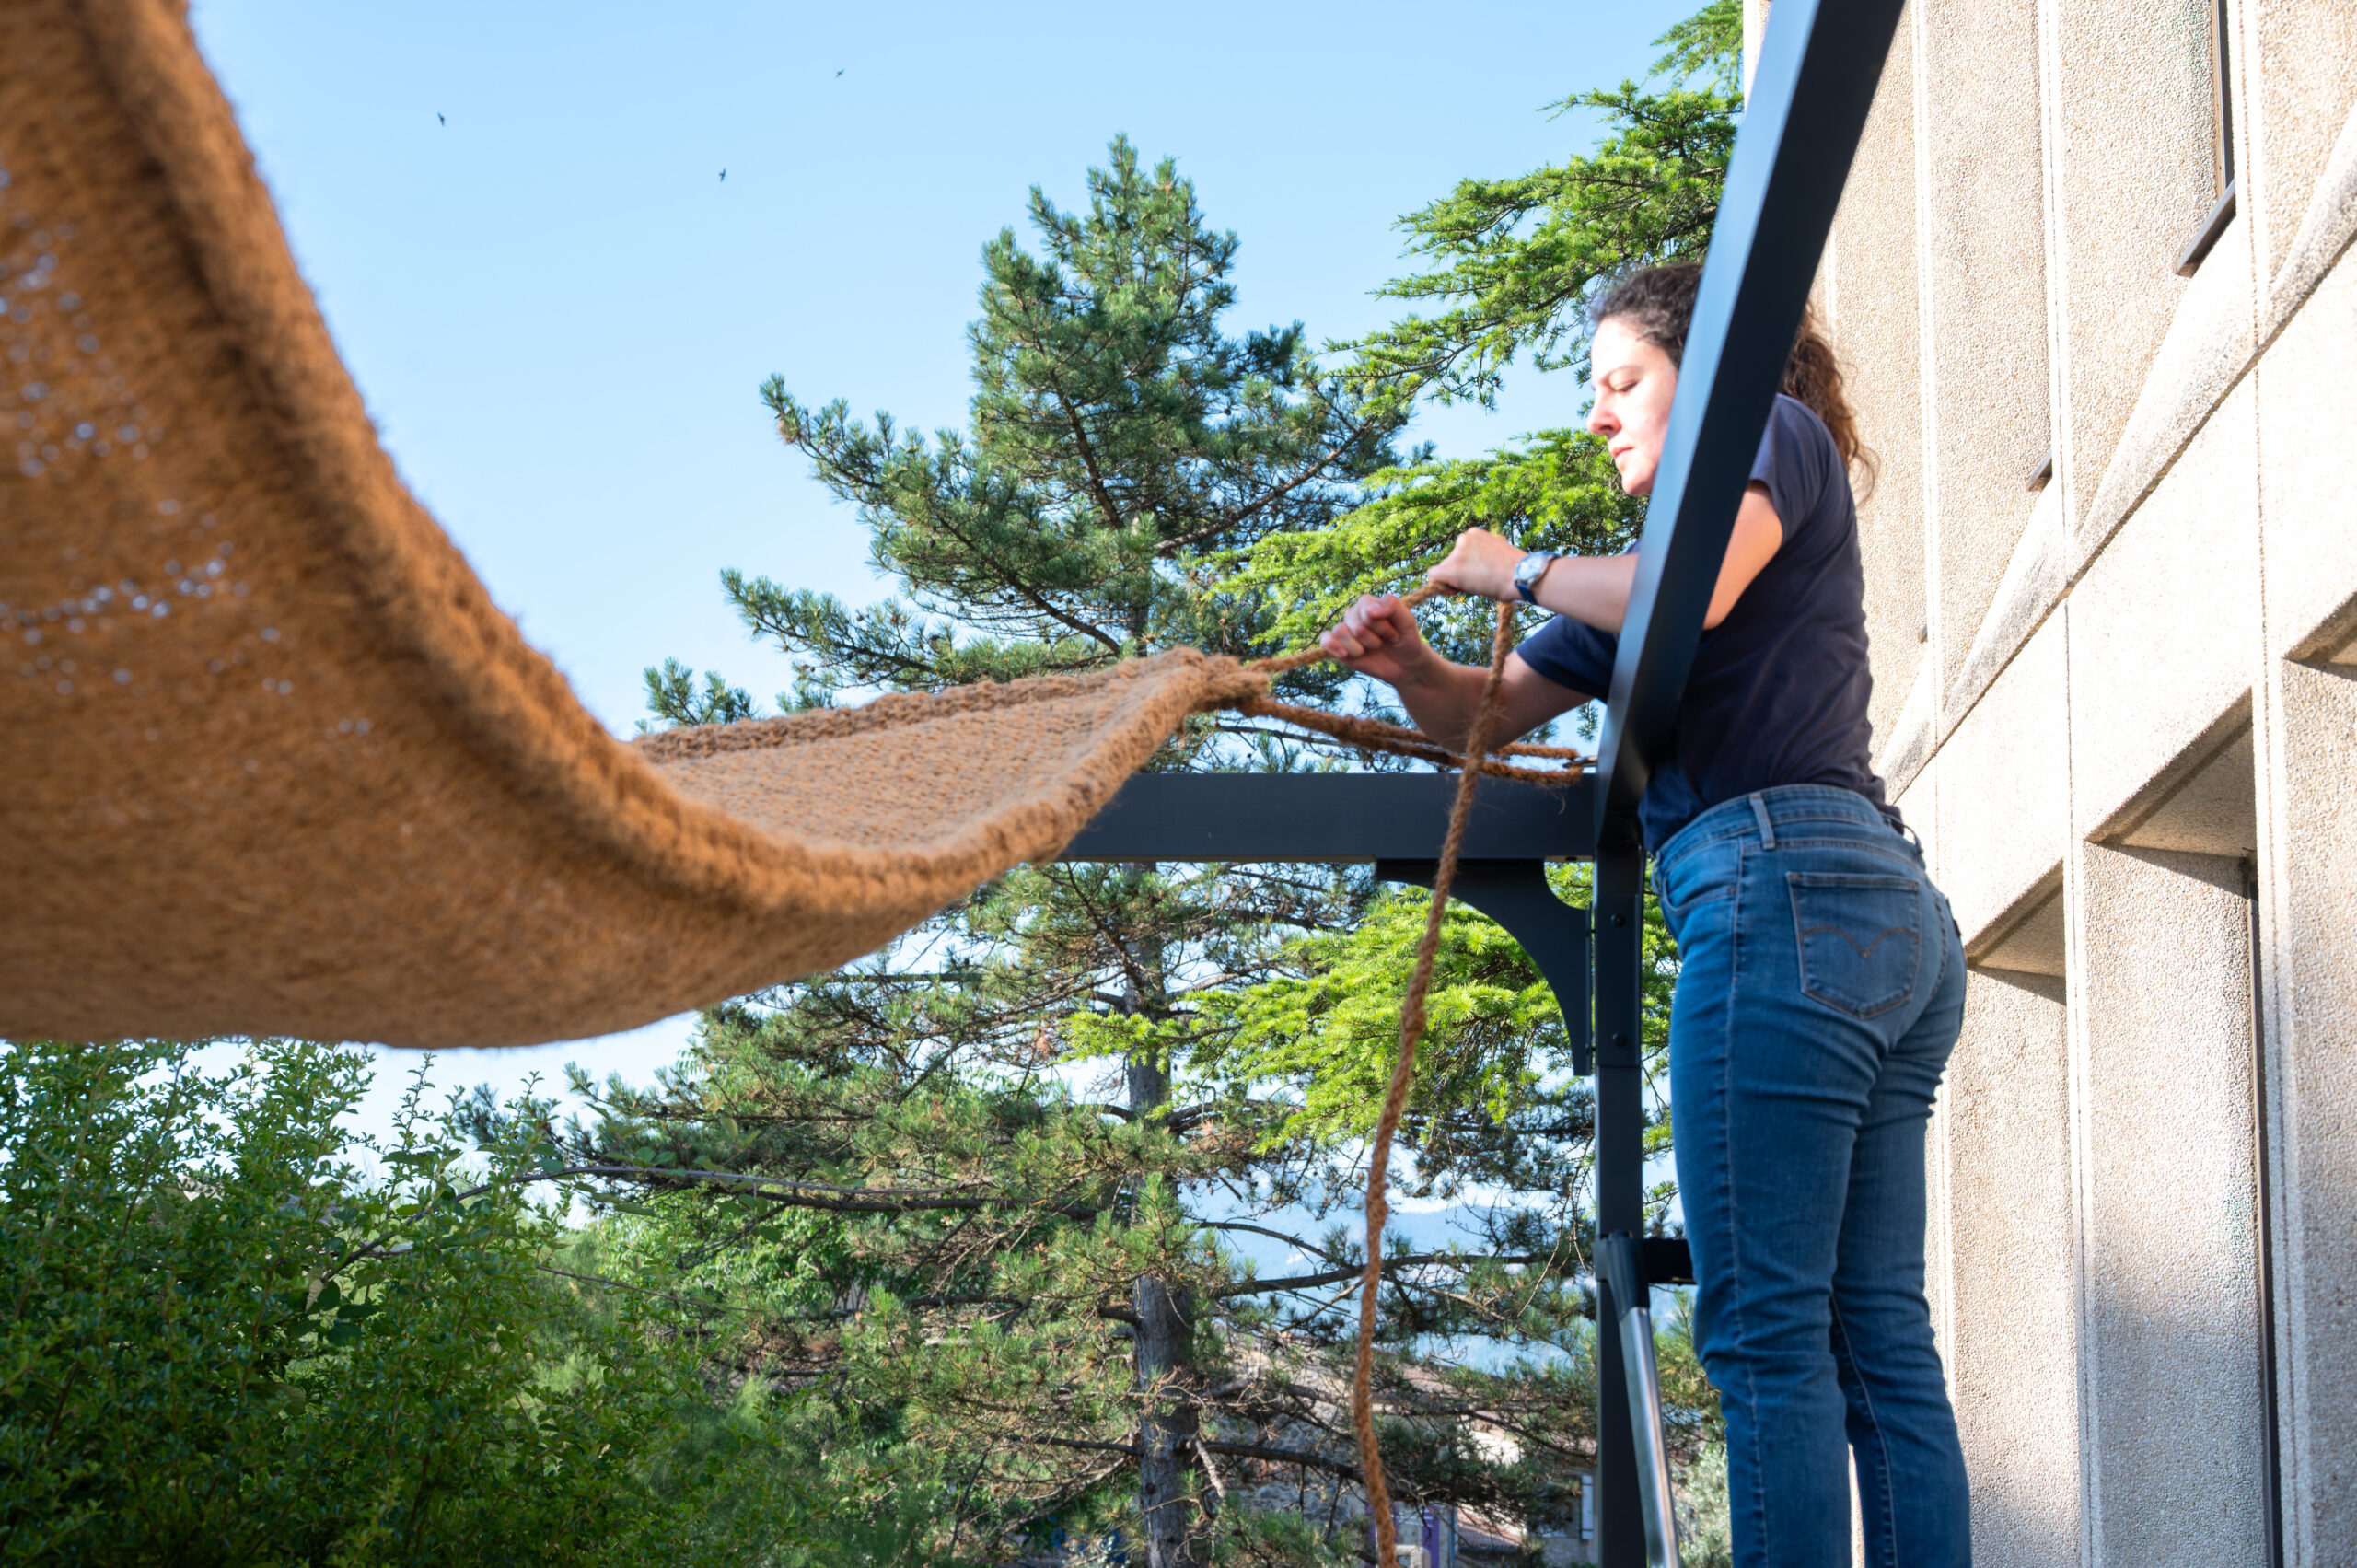
For a wall or facade mounting, use a wall plug and an eye bolt screw.
5. Tighten in increments for optimal tension
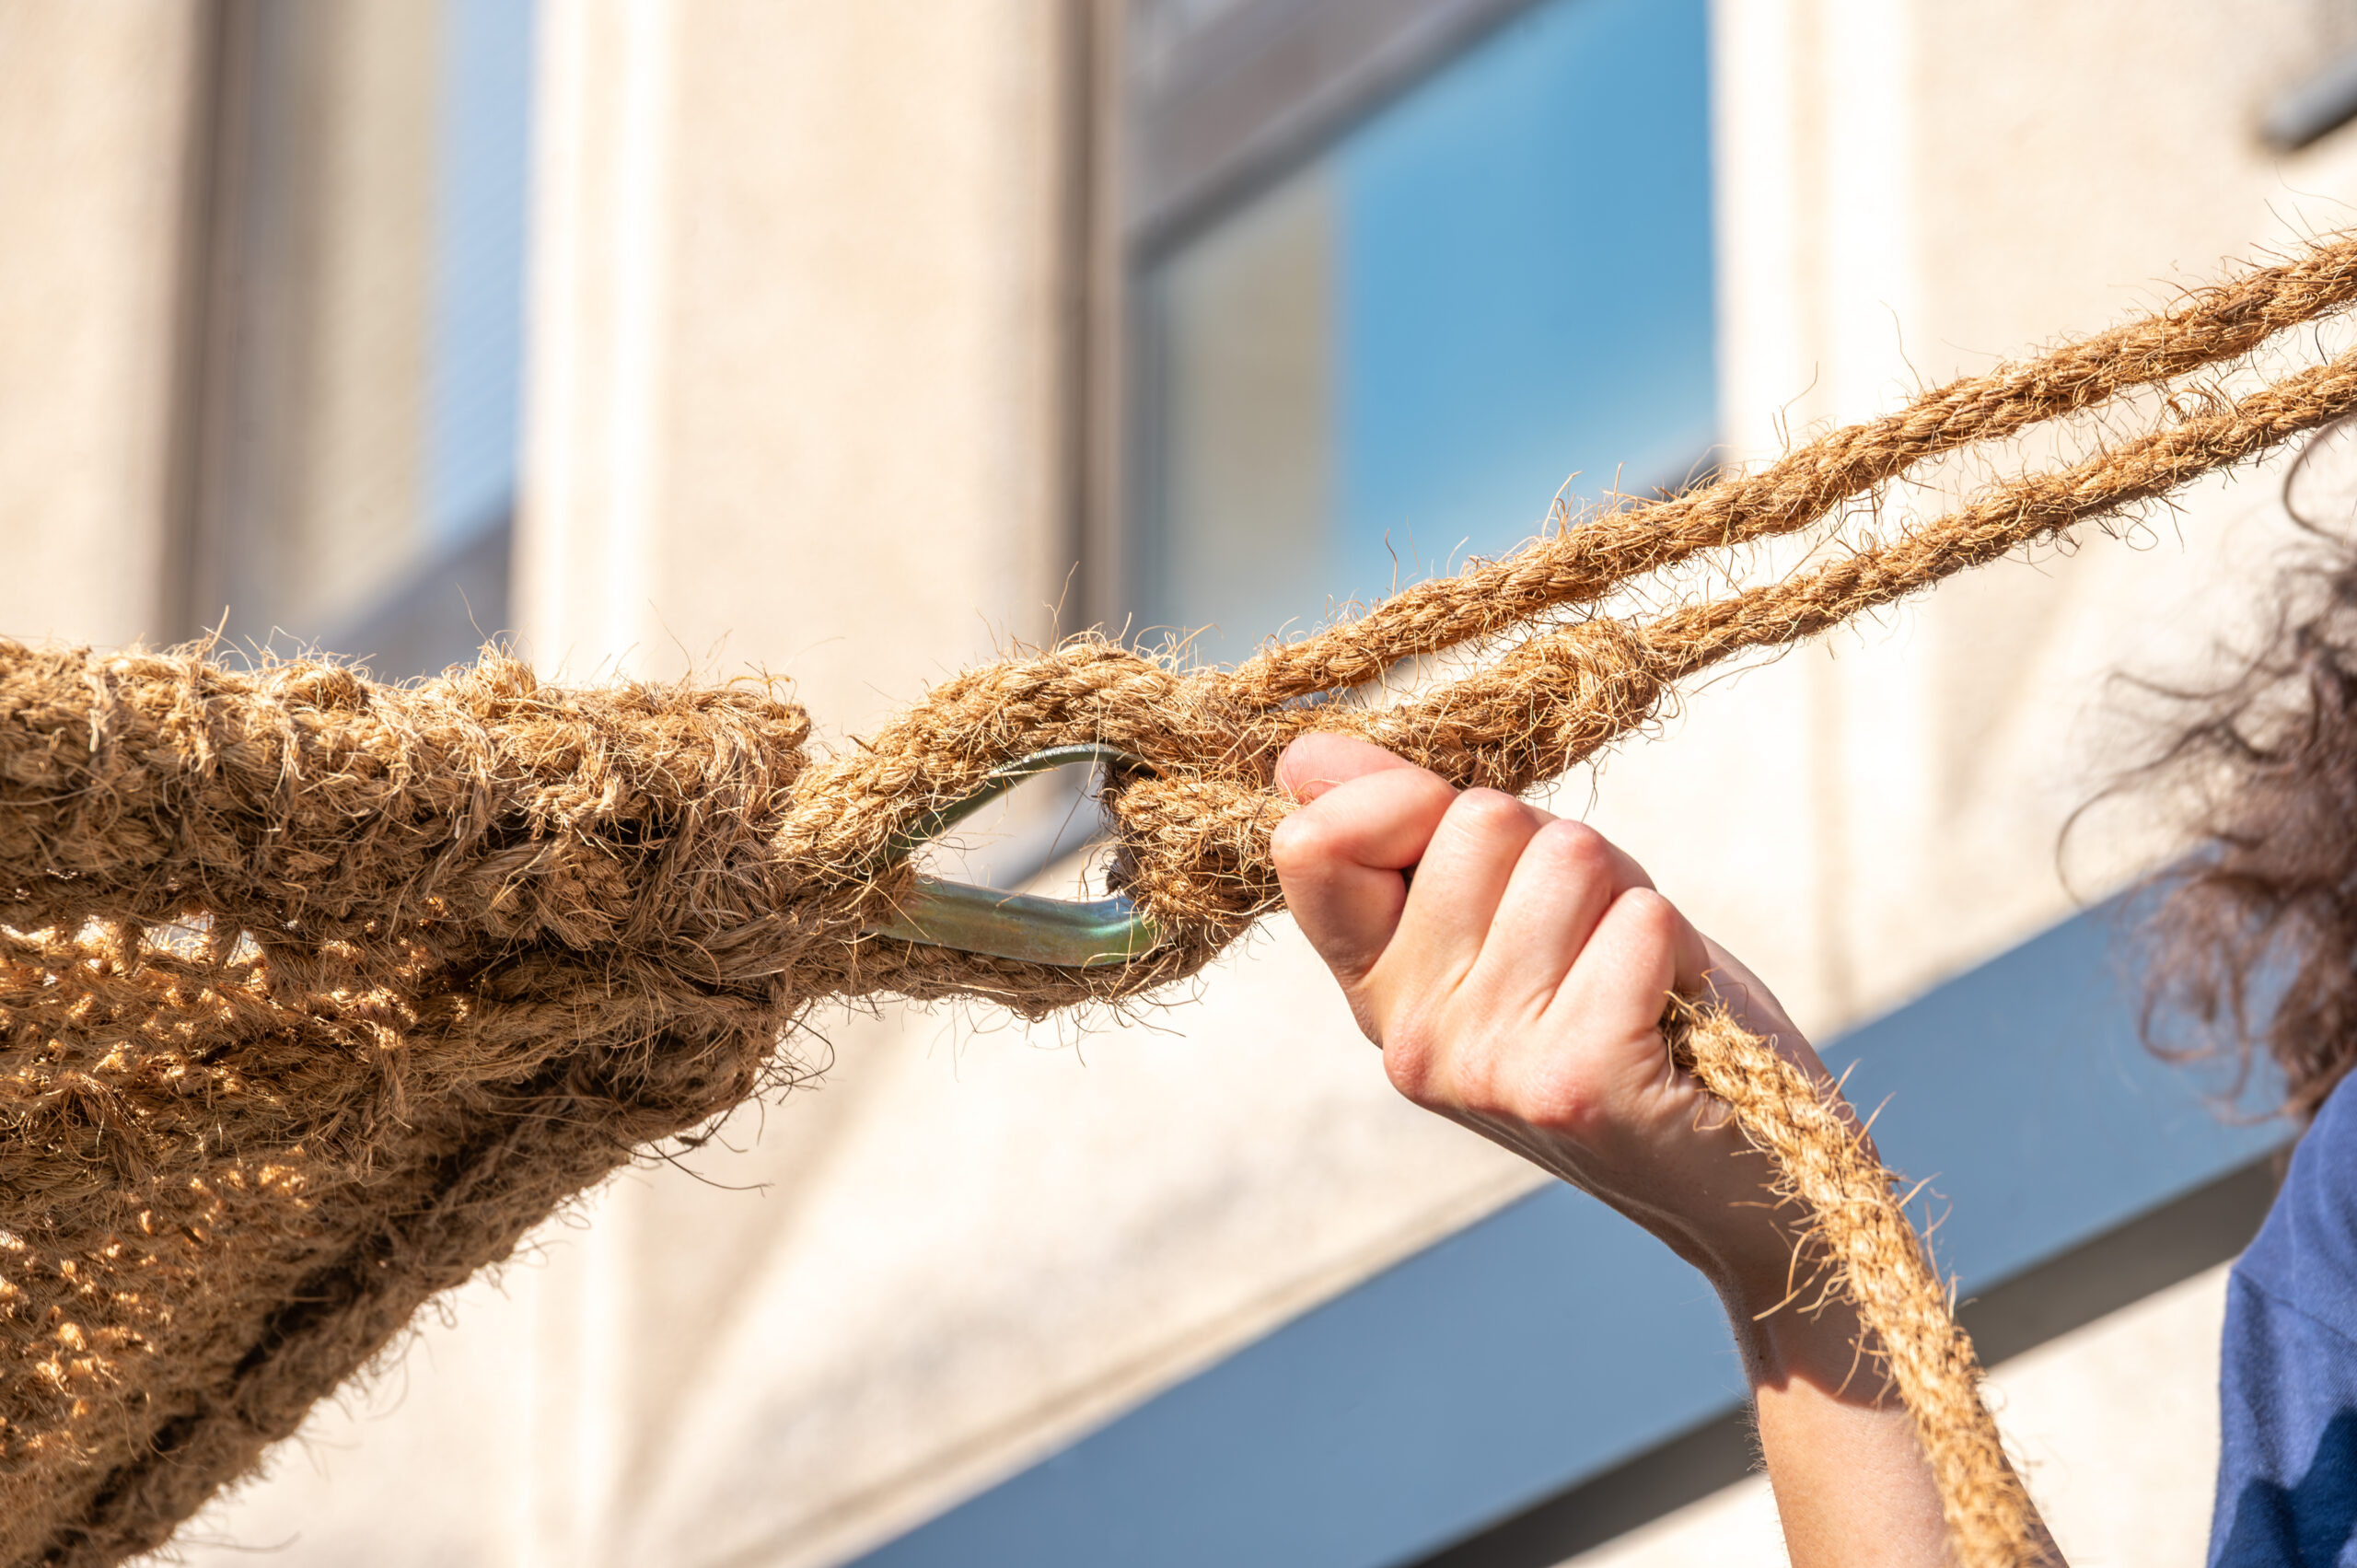
Adjust the tension using a doubled rope, pulling gradually on each corner until you achieve a taut and smooth canvas.
And here is the final result once the sail is installed!
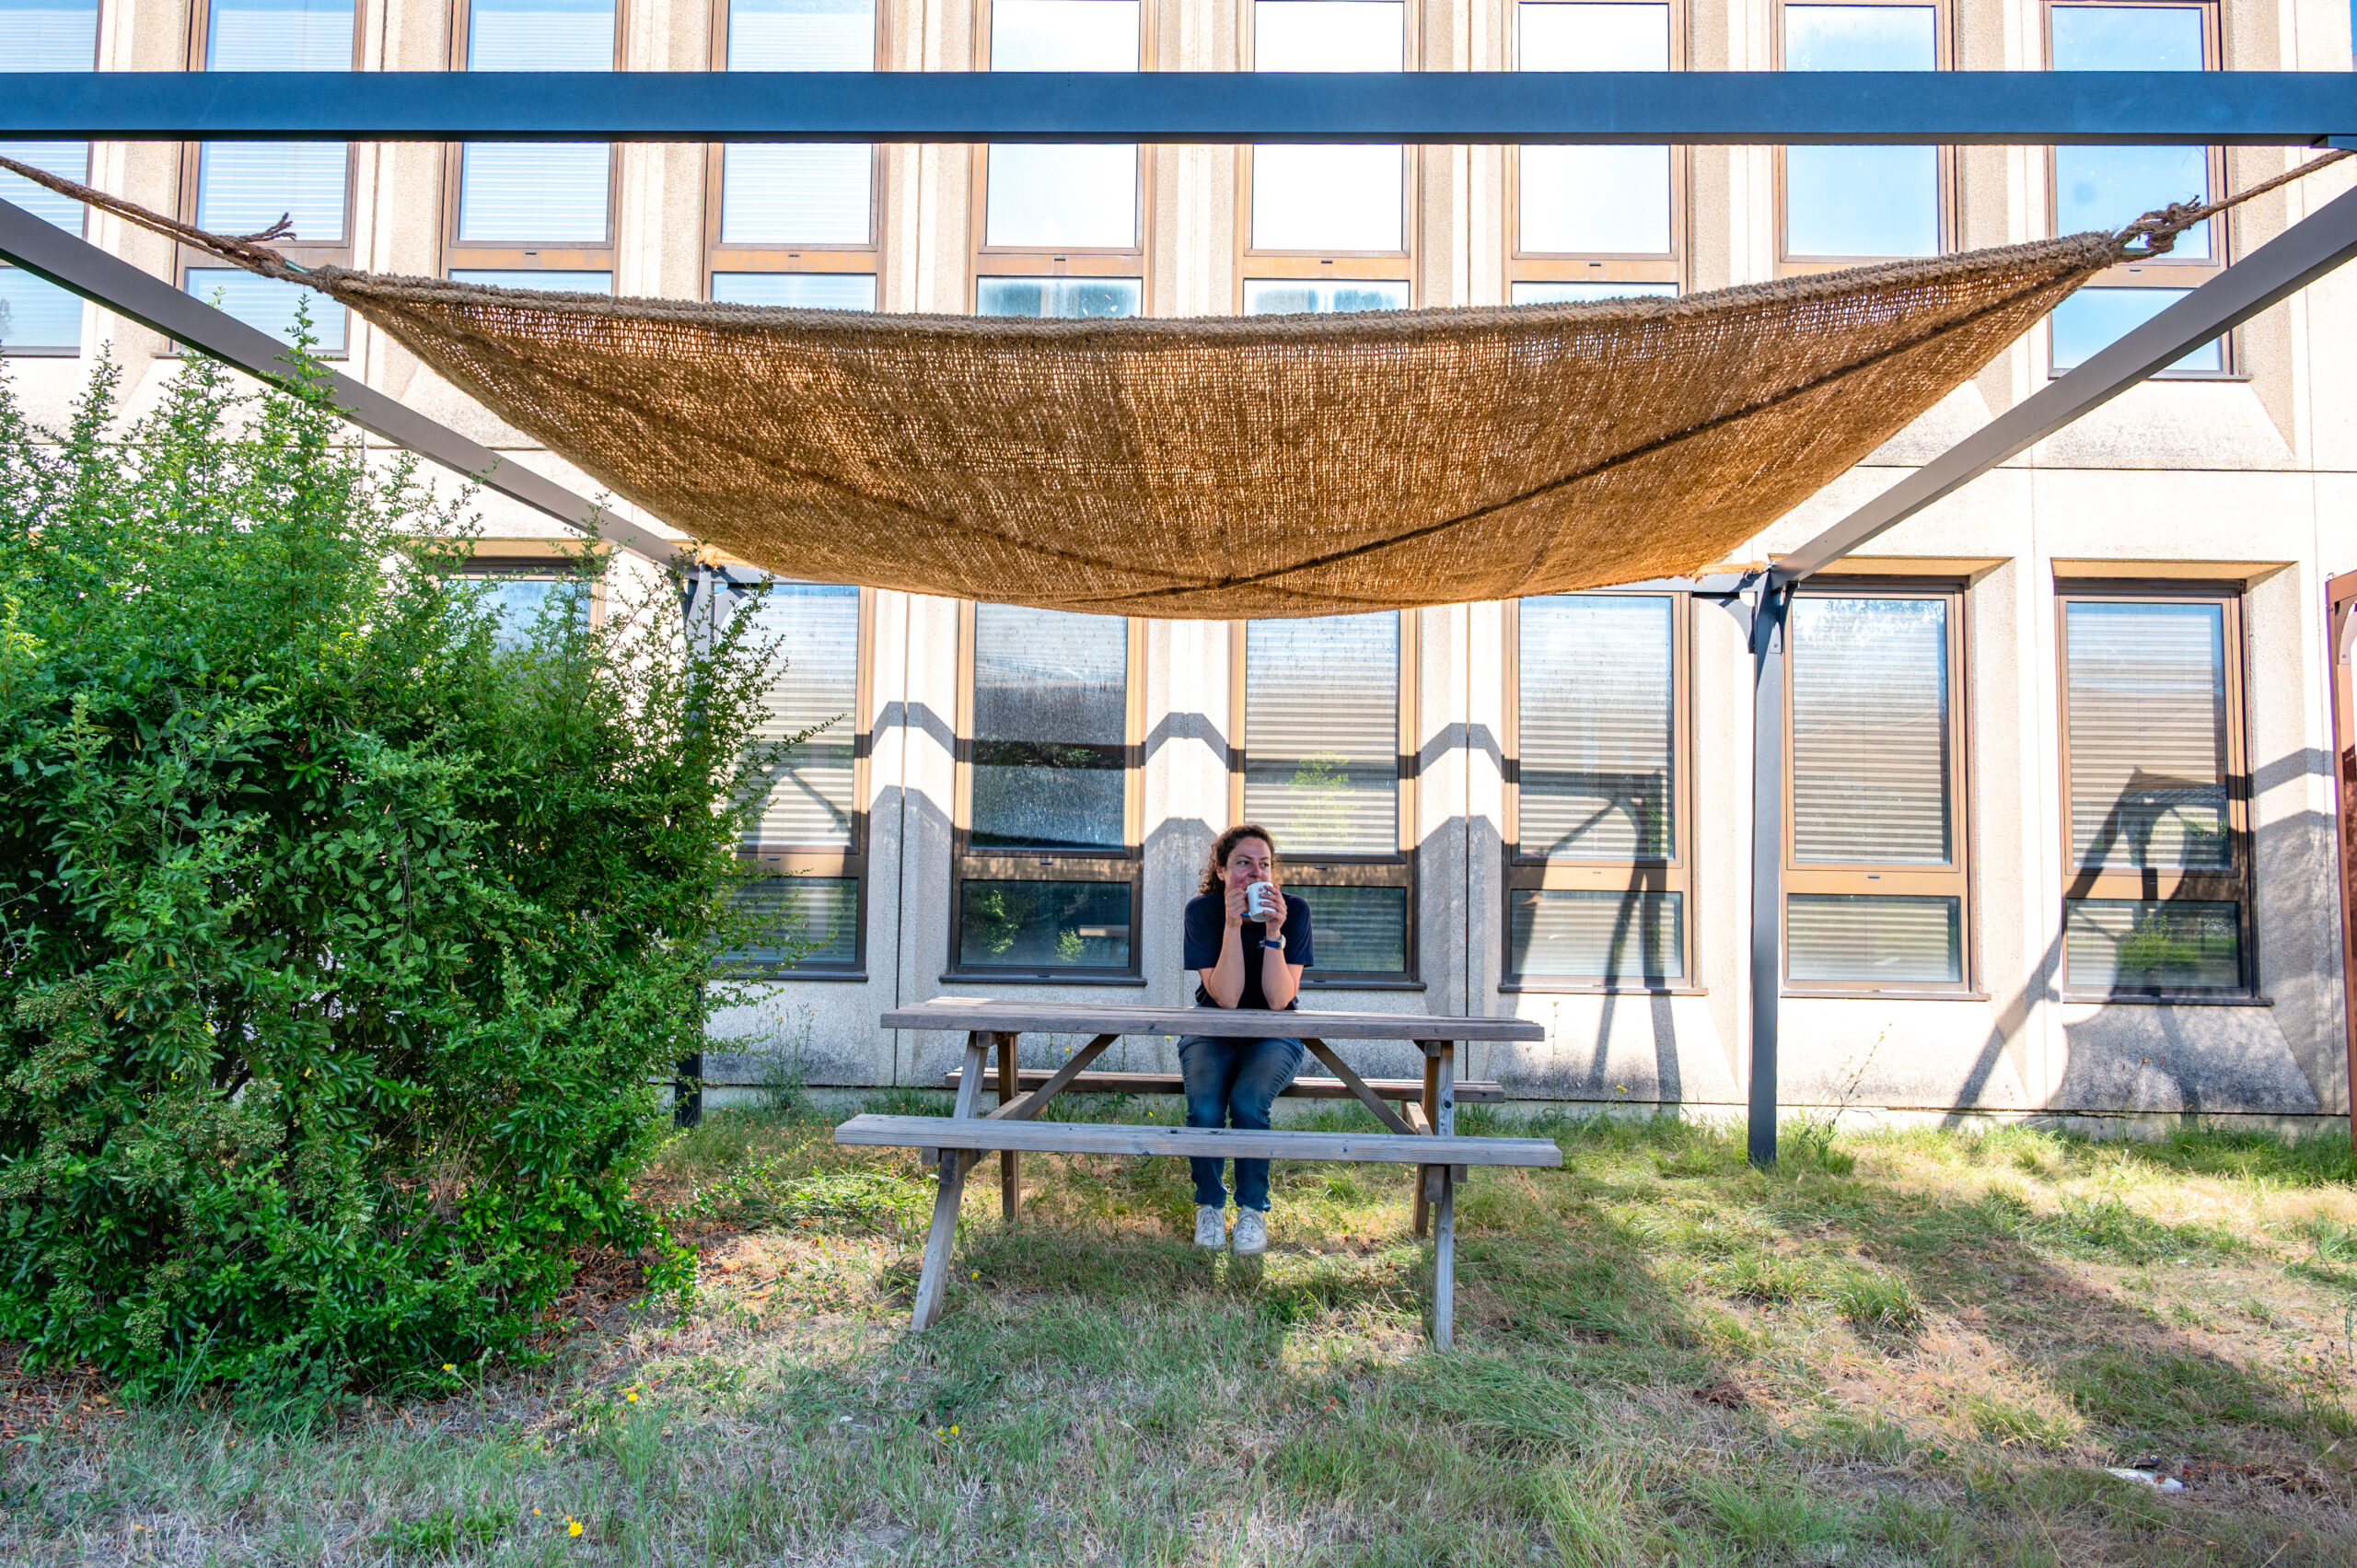
This model is therefore simple to install and requires very little equipment.
If needed, you can use turnbuckles for improved tension, carabiners to facilitate winterization, or even our support kit in certain configurations:
- the sail is large in size (e.g., 4x4m)
- the intended attachment points are too low
Key points to consider for a successful installation of this model:
- The chosen dimension must be at least 50 cm smaller than the area to be shaded. E.g., for an actual available space of 4 x 4 m, the max. sail size should be 3.50 x 3.50 m.
- Recommended fixing height: 2.8 m minimum; for sails over 19 kg, opt for 3 m.
- When the shade sail is installed, the reinforcement ropes running through it must be facing downwards / towards the ground, as their role is to support the shade screen.
- Weight of the dense coco weave (Coco Classique range): 1.2 kg/m² dry and 2.4 kg/m² when wet. For the ultra-dense coco weave (Coco Robusta range): 1.6 kg/m² dry and 3.2 kg/m² when wet. Keep this carefully in mind when choosing your anchor points!
- Do not use plastic cable ties (zip ties) to attach your shade screen; this will prematurely wear out the rope and can quickly cause it to break.
- Coco fiber stretches when wet; after the first rains, you may need to slightly re-tighten your sail once, or even two to three times.
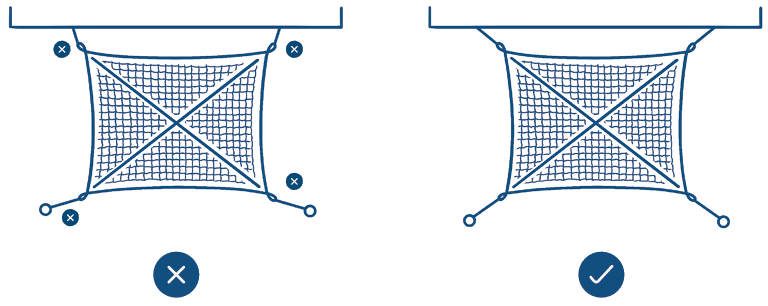
- The farther your attachment points are from the sail (distant tree branches or posts), the more crucial it is that the fastener and rope match the alignment of the crossed ropes of the shade screen (see diagram below). Depending on this distance, you will need to choose one of the ropes available in our shop.
The diagram below shows the correct alignment between the rope and the attachment point:
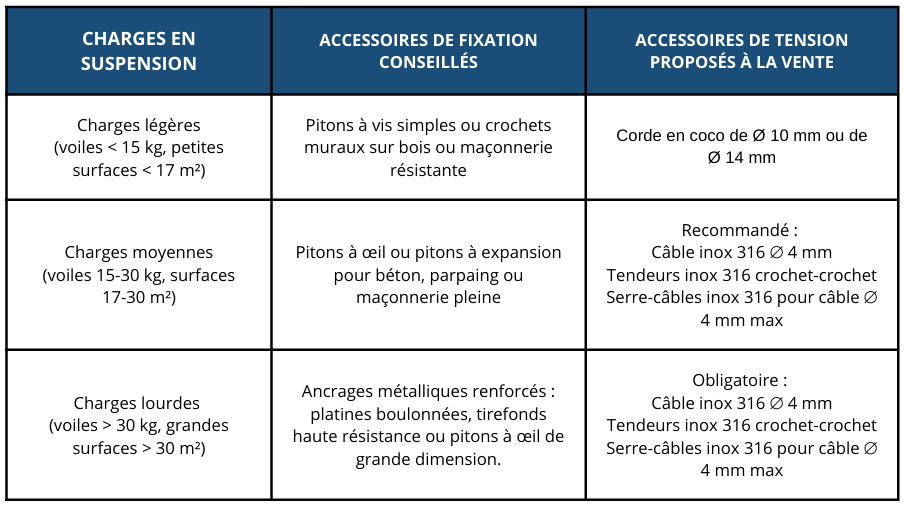
For your information, here is the recommended hardware & installation equipment for 4-point attachment hanging shade sails:
Watch our video tutorial (French subtitles):